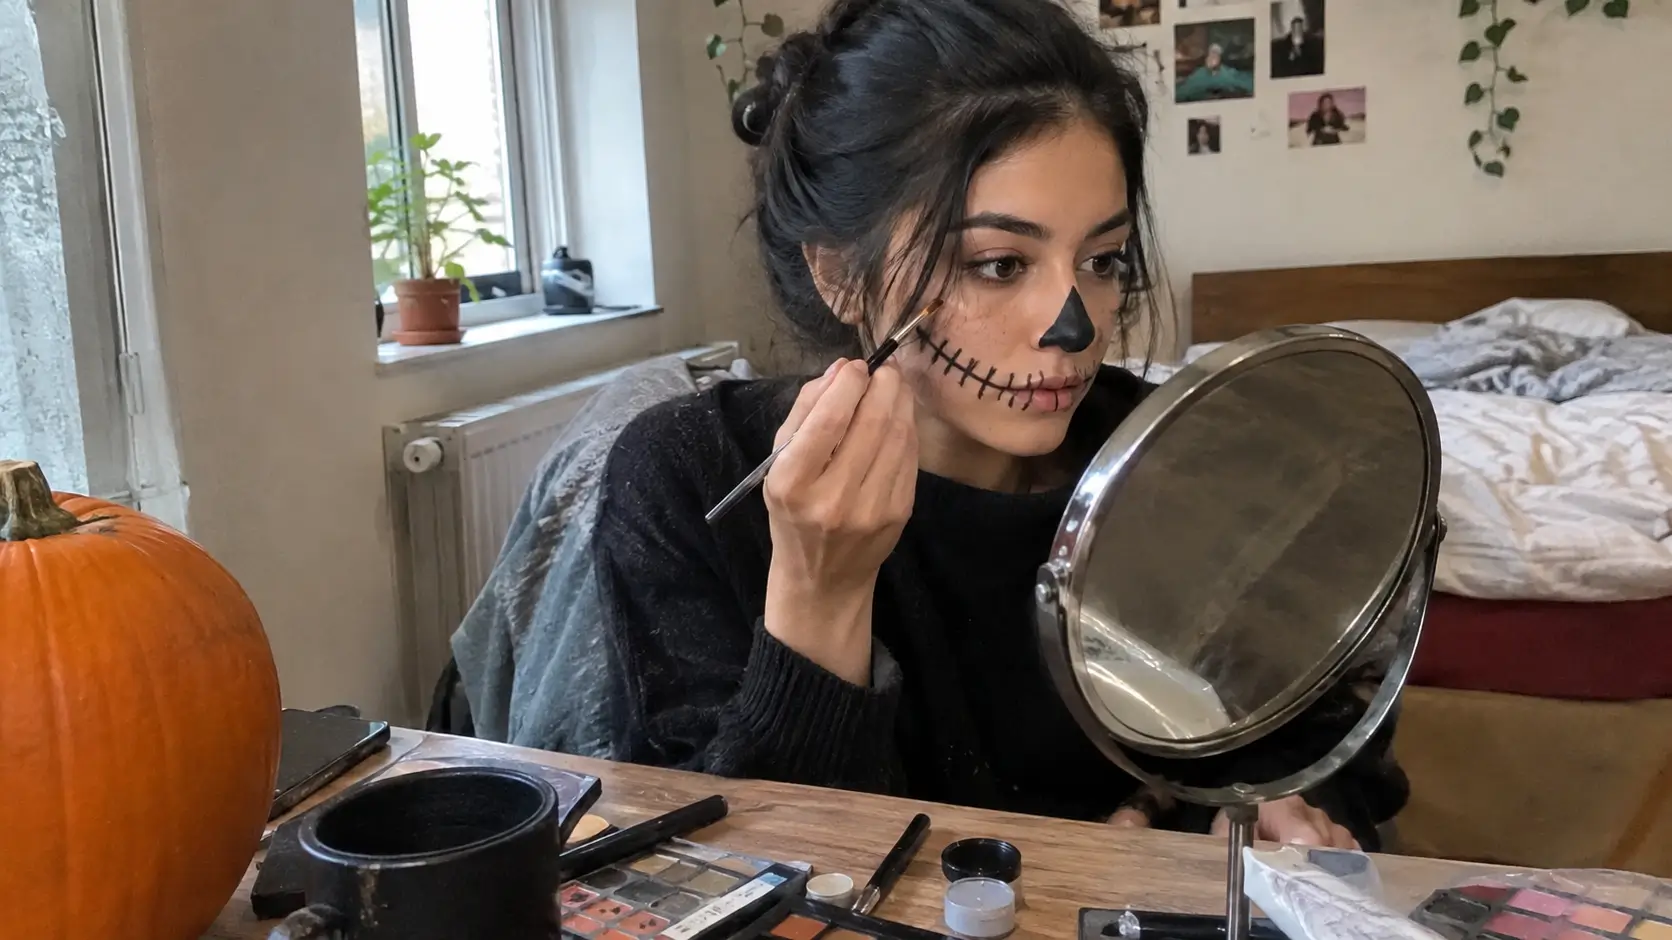
A full face of Halloween makeup looks intimidating until it gets broken down into what it actually is: a few shapes, blended into skin that was already clean and moisturized before starting. Most of the looks below use three products or fewer — an eyeliner pencil, a cream color, and whatever setting powder is already sitting in a drawer.
The list skips anything that needs an airbrush, a prosthetic appliance, or blending skills built up over years of practice. A few use household objects instead of specialty tools — a piece of tissue for cracks, a cotton swab for shading — because those tricks work just as well as expensive kits and forgive mistakes more easily.
Nothing here needs more than 20 to 30 minutes in front of a mirror. Pick whichever shape looks most doable on a first try, and expect it to look better the second time it gets drawn.
Beginner Basics: One Feature Is Enough
These looks skip full coverage entirely and put all the effort into one part of the face. They’re the easiest place to start on a first attempt at Halloween makeup.
1. Blackout Brows With a Bare Face
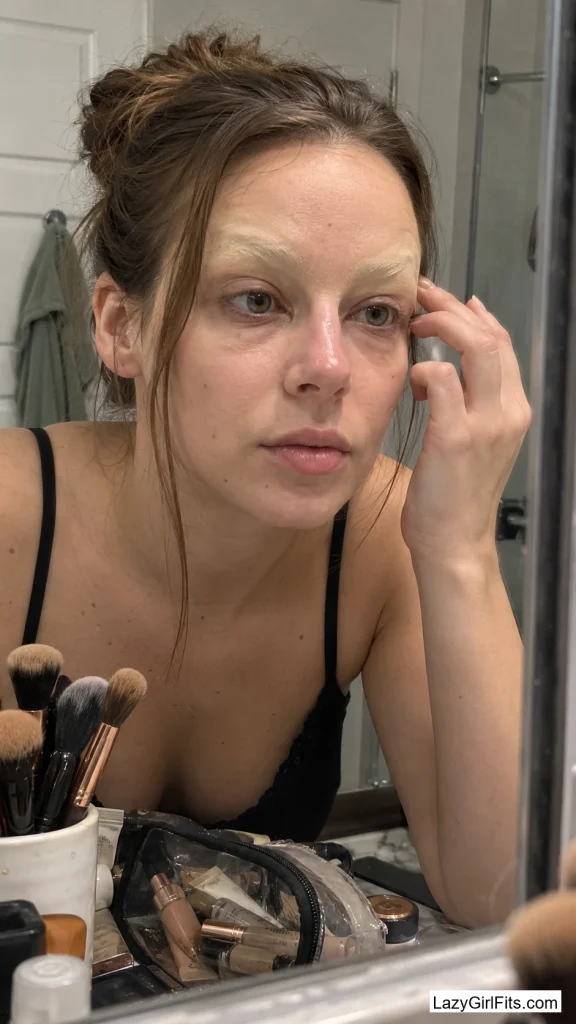
Coat both eyebrows completely with a thick cream concealer two shades lighter than the skin, pressed on with a finger until the brow hair disappears, then set with translucent powder so nothing shows through. Skip everything else — no eyeshadow, no contour, just clean skin and a blank space where the brows used to be.
The blank-brow effect reads as unsettling on its own because it changes the shape of the whole face without adding a single line, which makes it one of the fastest looks to fake convincingly. It also comes off with regular makeup remover in under a minute, unlike anything involving liquid latex.
2. A Thumbprint Bruise Under One Eye
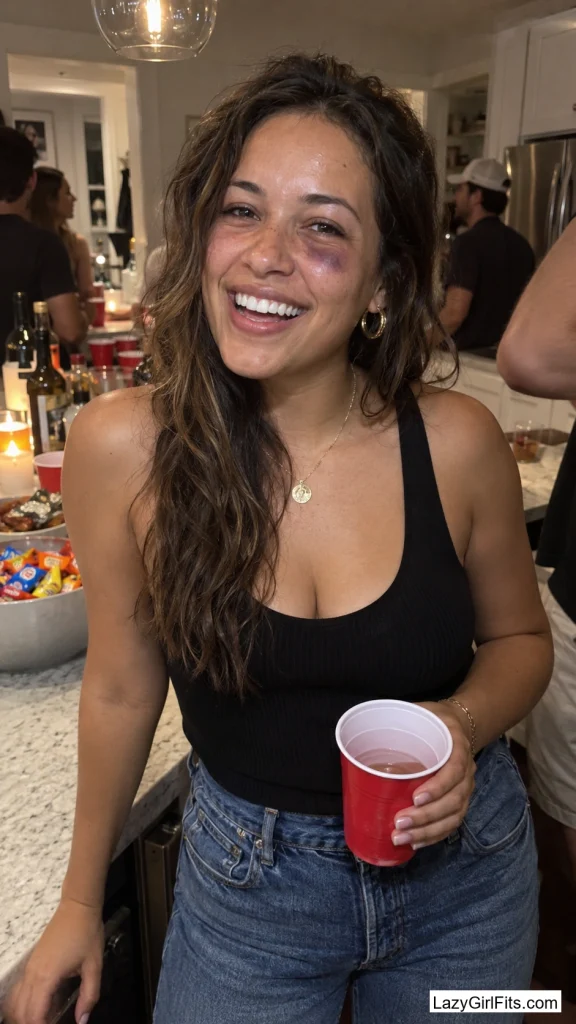
Blend a small oval of purple-grey cream eyeshadow just under one eye, then press a thumb into the center while the product is still tacky to leave a slightly darker, uneven print rather than a smooth gradient. Add a thin yellow-green edge around the outside with a cotton swab for the healing-bruise fade.
The thumbprint texture is what sells it — a perfectly smooth bruise looks like blush gone wrong, while one with visible pressure marks looks like it happened to someone. Cream products blend into each other more forgivingly than powder here, which matters most on a first attempt.
Keep it to one eye and skip the rest of the face. A single, well-shaped mark is more convincing than the same effect repeated on both sides, and it leaves the rest of a first attempt free of pressure.
3. A Cracked Eggshell Patch at the Temple
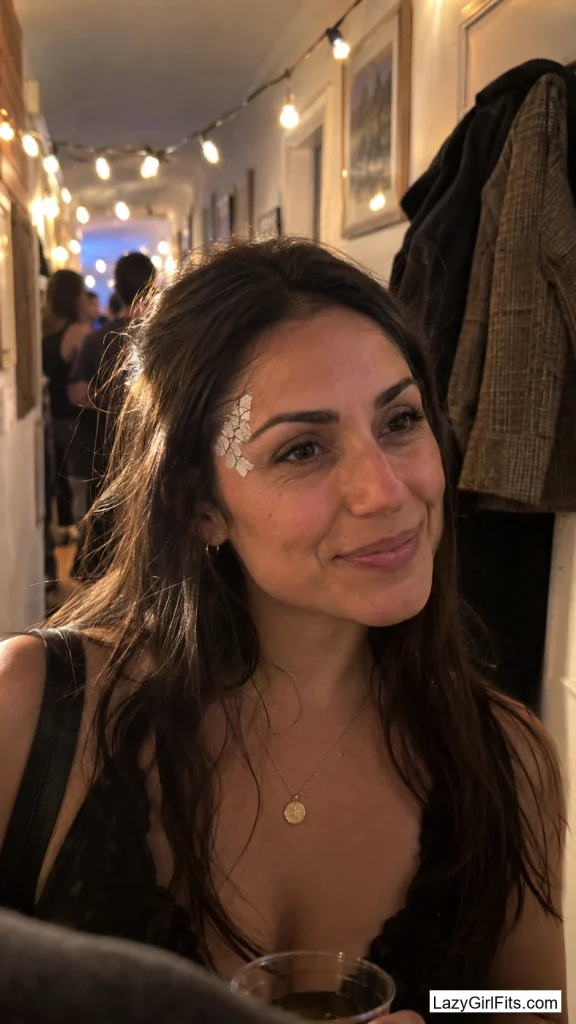
Paint a thumb-sized patch of white cream makeup at one temple, let it set for a minute, then use a fine liner brush to draw three or four jagged crack lines through it in grey, as if the skin there had a shell underneath. Add a thin dark line inside each crack for depth.
Confining the texture to one small patch instead of the whole face is what keeps this beginner-friendly — there’s no need to blend a large area evenly, and any wobble in the crack lines just reads as more cracks rather than a mistake.
Classic Shapes, Kept Simple
These are the shapes most people picture first when they think “Halloween makeup,” scaled down to the parts that are actually easy to draw.
4. A Simplified Skeleton, Dots Instead of Shading
Skip the usual shaded-in eye sockets and cheek hollows. Instead, use black liner to draw a dotted line around each eye, a row of small dots down the bridge of the nose, and a few short dashes at the corners of the mouth for teeth lines. White face paint underneath is optional.
Dots and dashes are far more forgiving than solid shading, since a shaky line barely shows in a row of small marks the way it would in one long shaded shape. It still reads clearly as a skull from a few feet away, which is the only distance that matters at a party.
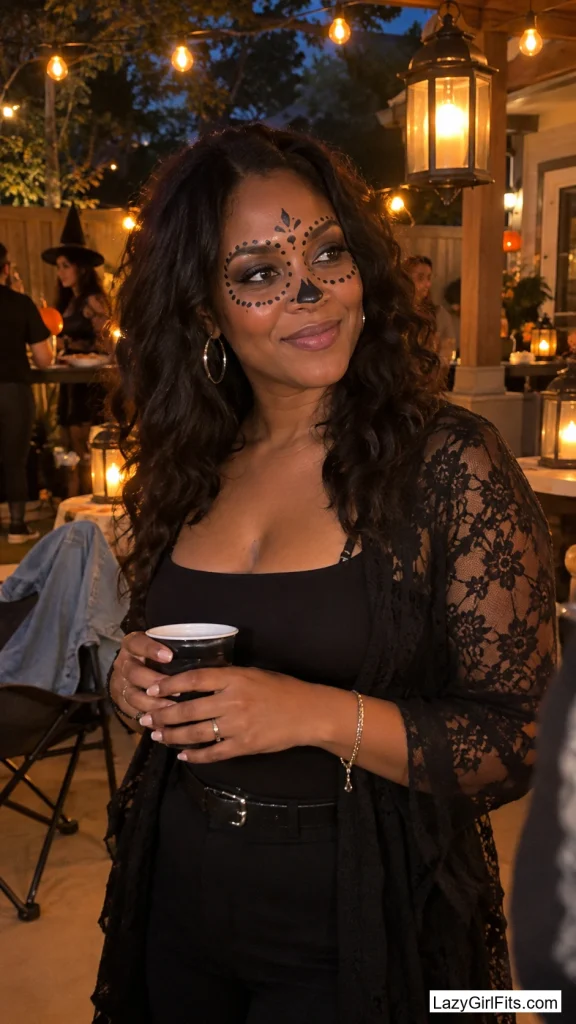
5. Cat Whiskers and a Painted Nose
Draw a small black triangle over the tip of the nose, a short vertical line down to the top lip, and three thin whisker lines fanning out from each cheek with a fine liner brush. Add a touch of pink blush just above the whiskers for warmth.
This is one of the fastest looks on the list because there’s no blending step at all — every line stays crisp instead of soft-edged, which also makes it easy to fix with a cotton swab if a whisker comes out crooked.
Pair it with cat ears or leave the rest of the face bare; either way, it holds up fine through a few hours of talking and eating, which is more than most face paint can promise.
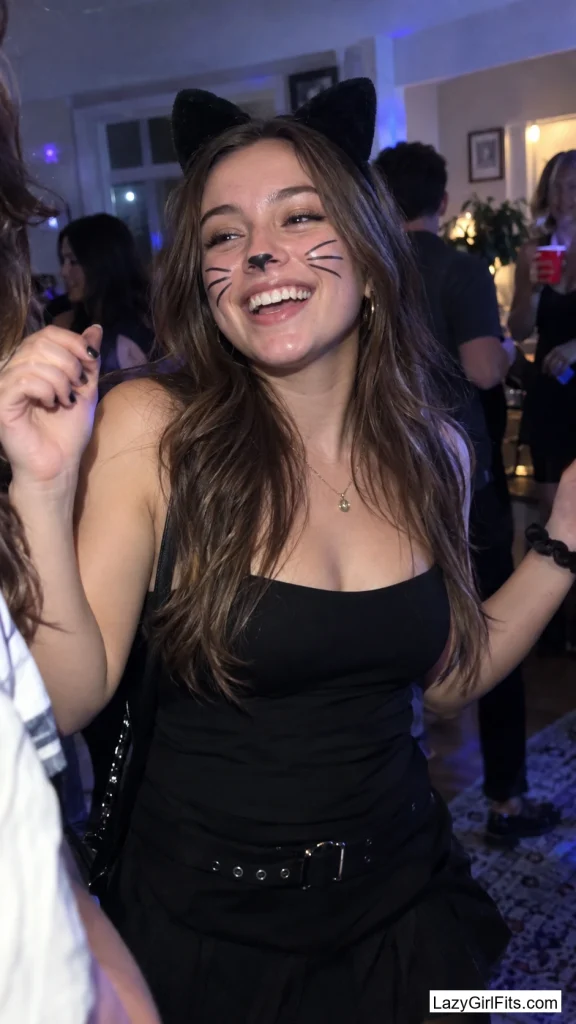
6. A Basic Ghost Face
Cover the whole face in white cream makeup, blended out at the jawline and hairline so there’s no hard edge. Smudge grey eyeshadow lightly under the eyes and at the temples, then leave lips bare or add a faint grey tint.
The blending at the edges is the only part that takes any real time, and going slightly patchy actually helps here — an uneven white base reads as sickly rather than sloppy, which works in a beginner’s favor.
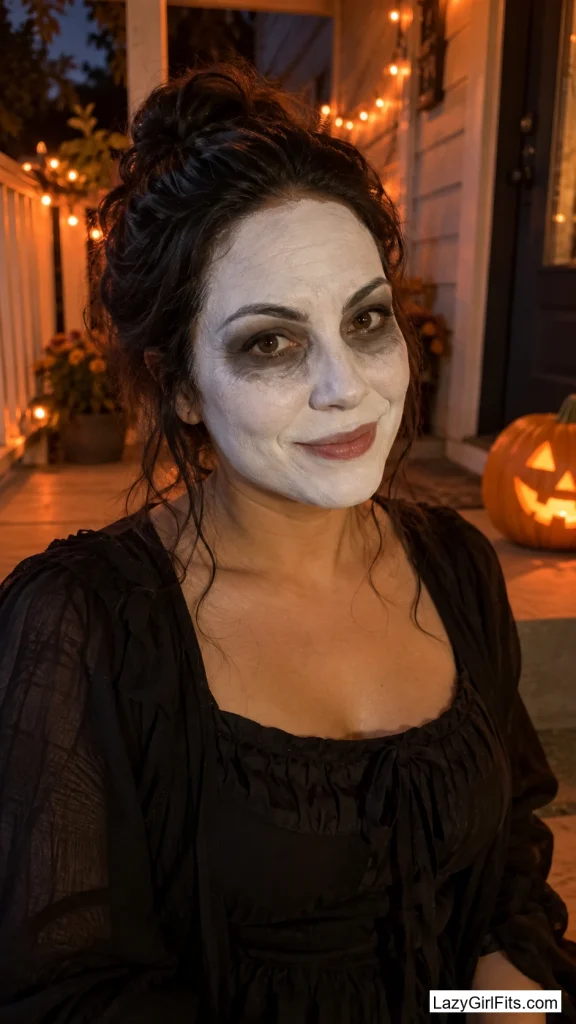
Small Details That Read as Art
A single well-placed design does more than a whole face of paint, and each of these keeps the rest of the skin bare on purpose.
7. A Single Wilting Flower at the Temple
Using a small brush and cream eyeshadow in dusty rose or lavender, paint one drooping flower shape at the temple, petals angled downward as if wilting, with a thin brown stem trailing toward the ear. Add a few loose petals scattered below it.
One flower is easier to get right than a full crown of them, and the downward, wilting angle is more forgiving of imperfect petal shapes than a perky, symmetrical bloom would be. It reads as intentional even when the petals aren’t identical.
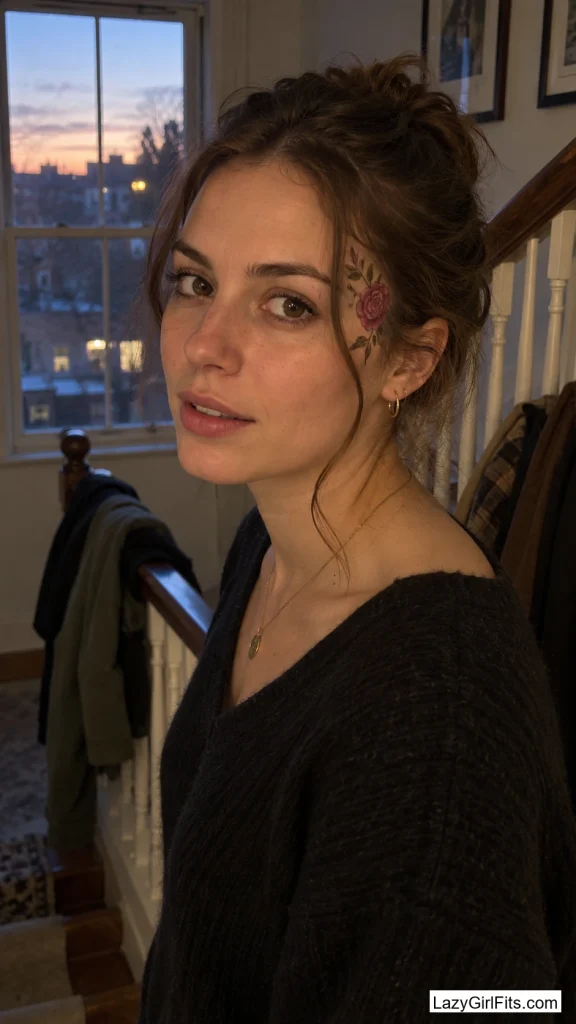
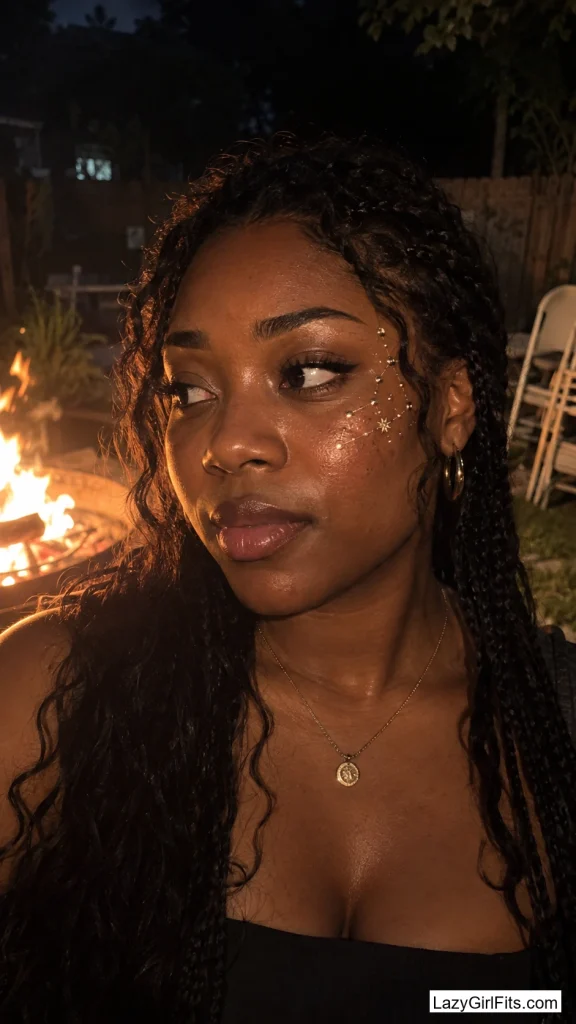
8. A Constellation Across One Cheekbone
Dot white face paint or a metallic liquid liner across one cheekbone in a loose scatter, then connect a handful of the dots with thin straight lines to suggest a constellation. Let a few dots sit unconnected, the way real star charts do.
Straight lines between dots are much easier to keep steady than a curved design, and any slight wobble just looks like hand-drawn charting rather than a mistake. A small dot of iridescent powder over each star point adds shimmer without extra steps.
This one photographs especially well in low light, since the metallic dots catch flash photography the way actual stars catch a camera lens — worth keeping in mind for anyone whose night involves a lot of phone cameras.
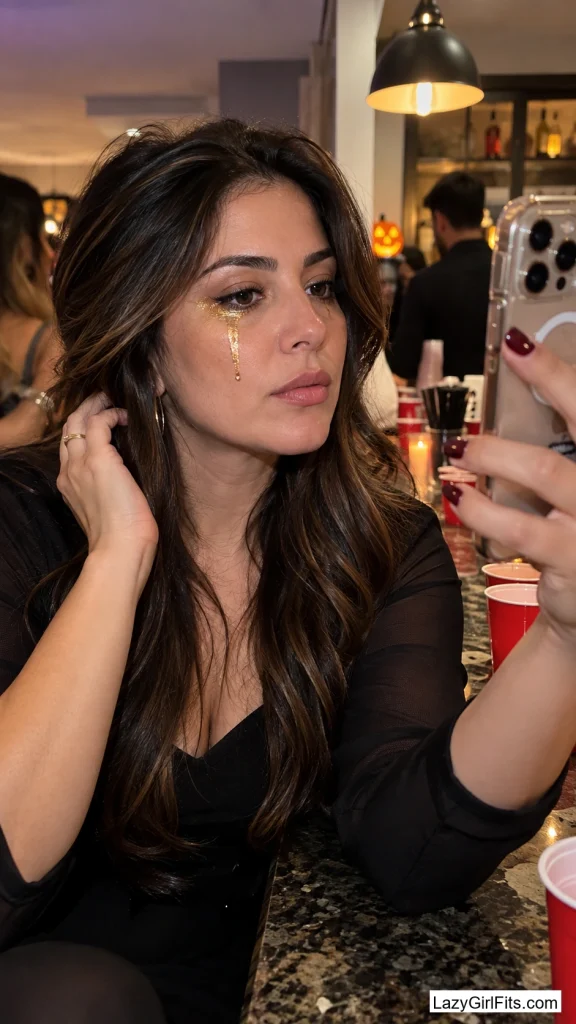
9. A Single Metallic Tear Trail
Draw one thin line of metallic gold or silver liquid liner from the inner corner of one eye straight down the cheek, then add two or three smaller teardrop dots trailing below it, getting smaller as they go.
Keeping the trail to one eye instead of two halves the risk of a smudge and still reads clearly from across a room. Liquid liner holds its shine far longer than cream, which matters for anything happening after dark under string lights.
Texture Tricks Anyone Can Fake
None of these require actual special-effects products — just a few household items and cream makeup already sitting in a drawer.
10. Sun-Cracked Desert Lips
Coat the lips in a matte nude or grey-beige lipstick, then press a small piece of tissue over them and pull it away, the way a blotting step works — this lifts thin streaks of color and leaves natural-looking cracks. Add a few short liner lines at the corners for extra texture.
Pair it with a light dusting of bronzer just at the tip of the nose for a sunburnt look. The tissue-lift trick works far better than trying to draw cracks by hand, since it produces irregular lines no pen could match.
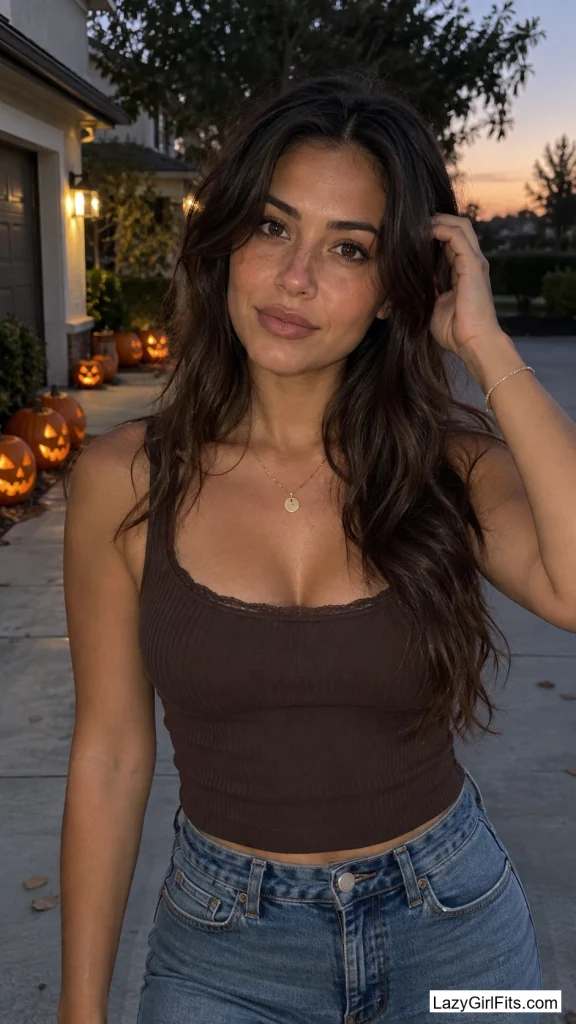
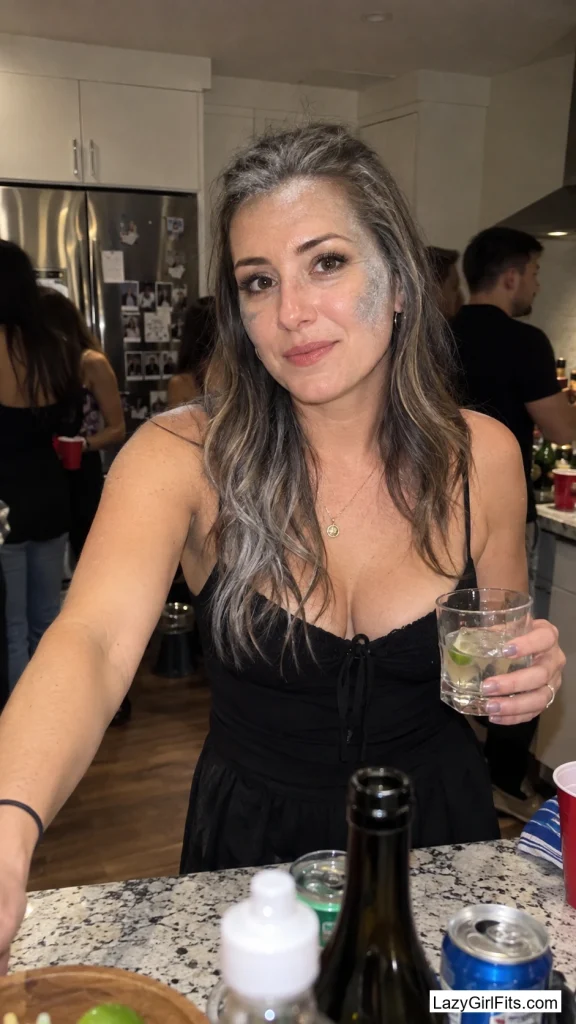
11. Ash-Dusted Cheekbones
Mix a small amount of grey eyeshadow with translucent powder and press it lightly along the cheekbones, brow bone, and hairline with a dry sponge, focusing more product toward the top of each area and fading it out as it goes.
The uneven, fading application is the whole effect — ash never settles in a perfectly smooth layer, so a patchy application actually looks more accurate than a carefully blended one. This is one of the few looks here where less blending effort gets a better result.
It layers well over almost any other look on this list, so it’s worth keeping in a back pocket to dial down something that ends up looking too clean.
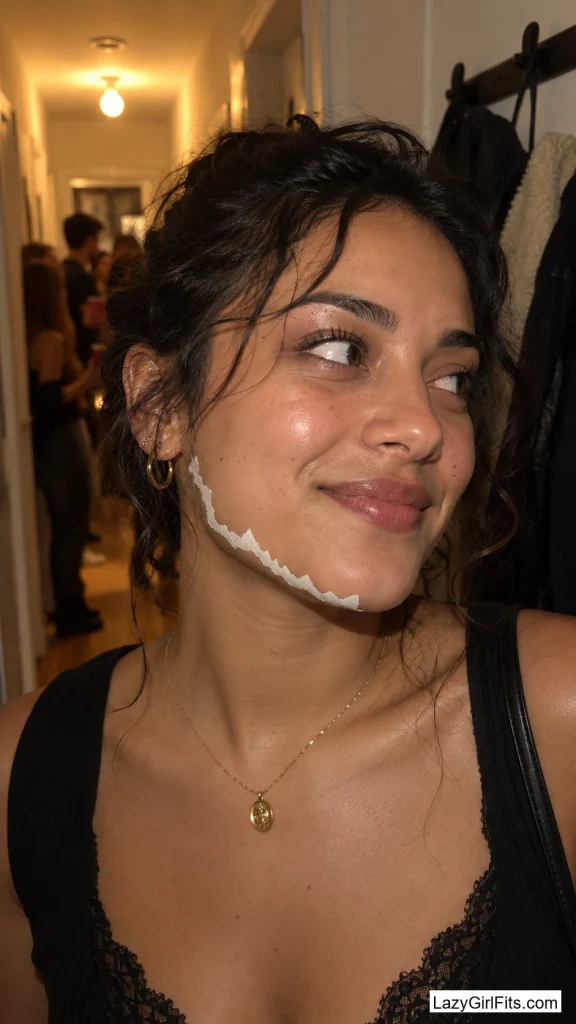
12. A Torn-Edge Paper Doll Jawline
Using white face paint, draw a jagged, torn-paper edge along the jawline as if the skin were a cut-out doll shape, then add a few short parallel lines just outside the edge to suggest paper fibers. Keep the rest of the face bare or lightly powdered.
Jagged edges are more forgiving to draw than smooth curves, since irregularity is the point rather than a flaw. This one works especially well photographed straight-on, where the torn line reads clearly against a plain background.
Playful and a Little Weird
Not every look needs to be scary. These lean into color and a bit of humor instead.
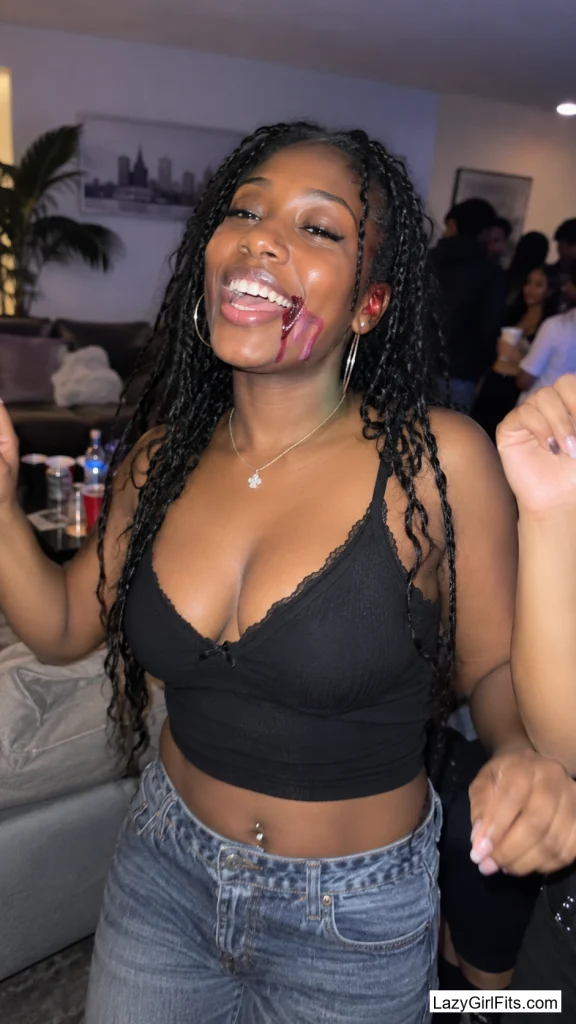
13. A Melting Popsicle Drip
Pick two bright cream eyeshadow colors — cherry red and grape purple work well together — and blend them in a rough triangle shape from the corner of the mouth down toward the chin, like a popsicle starting to melt. Add a few individual drip lines trailing further down.
Bright, saturated color hides small blending mistakes better than pale or neutral tones do, which makes this a good option for a first attempt at working with two colors together. A touch of clear lip gloss over the top adds a wet, melting shine.
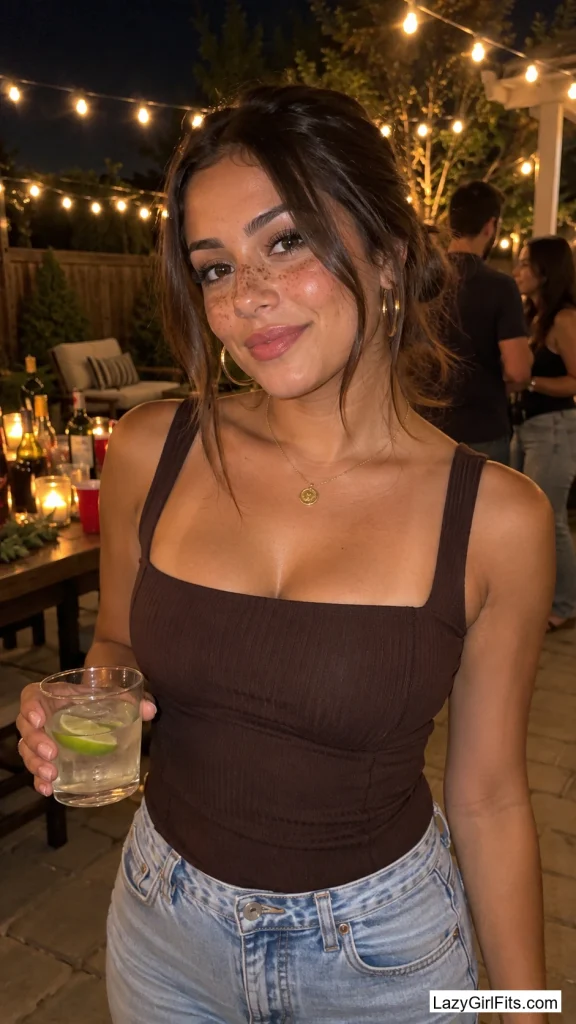
14. Rust-Freckled Cheeks
Dot copper or rust-colored cream eyeshadow across the nose and upper cheeks in an irregular scatter, mimicking a normal freckle pattern but in a metallic, deliberately unnatural color. Vary the dot sizes so they don’t look stamped.
Uneven spacing and mixed dot sizes are what make this look hand-placed instead of printed, and the color does the rest of the work. It pairs naturally with copper eyeshadow or a bronze lip if more coverage feels right.
This is one of the lowest-effort items on the whole list, and it works as a subtle addition to a plain outfit or as a base layer under a bigger costume.
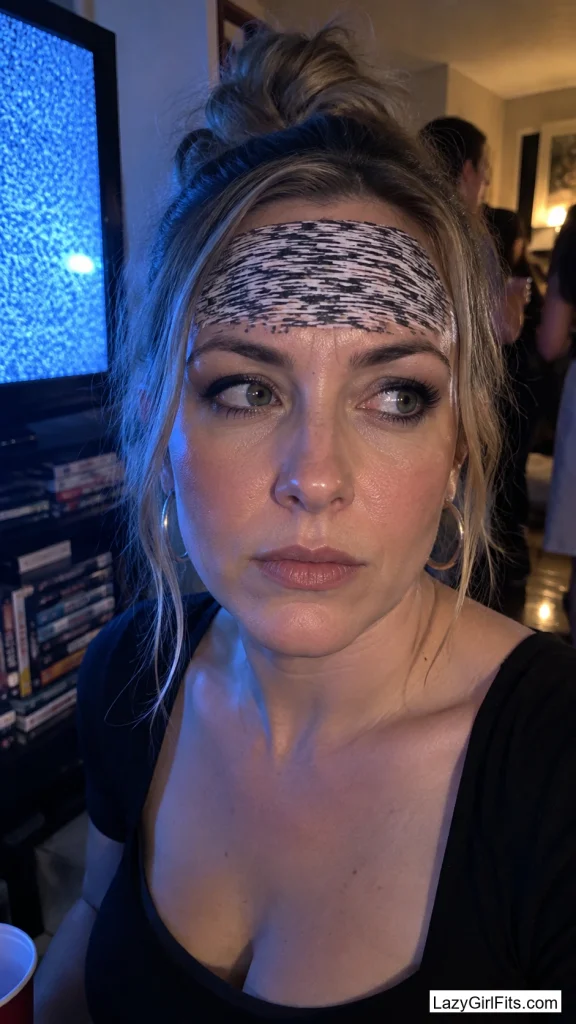
15. Static-Screen Scribble Across the Forehead
Using black and white cream eyeliner, scribble a dense, uneven pattern of short lines and dots across the forehead, mixing the two colors close together the way television static looks mid-scan. Keep the scribble contained to the forehead and don’t blend it.
The lack of blending is intentional here — this is the one look on the list where messy, overlapping lines are the entire point, which makes it nearly impossible to get wrong. It photographs best under flash, where the contrast reads clearly.
Spooky Without the Gore
The most recognizable Halloween shapes, scaled back to what a first attempt can realistically pull off.
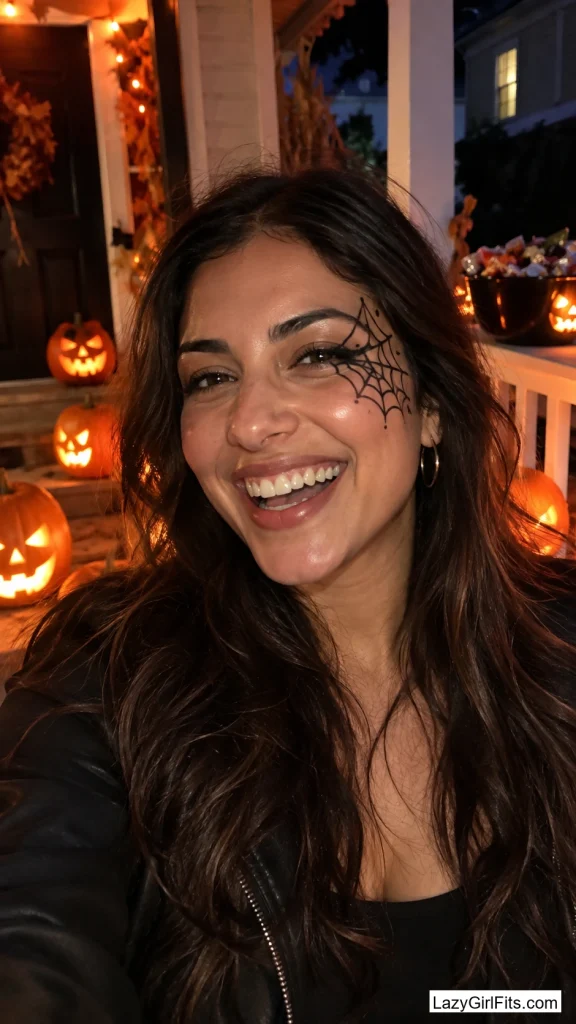
16. A Simple Spider Web Around One Eye
Starting from the outer corner of one eye, draw four or five thin black lines radiating outward like spokes, then connect them with short curved lines between each spoke to form a web. Keep the web small — covering roughly the temple and just above the brow is enough.
A small web is easier to keep symmetrical than one spanning the whole face, and any unevenness in the curved connecting lines just looks like a slightly imperfect web rather than a mistake. One small spider drawn at the edge finishes it off.
17. A Vampire Bite and Trickle
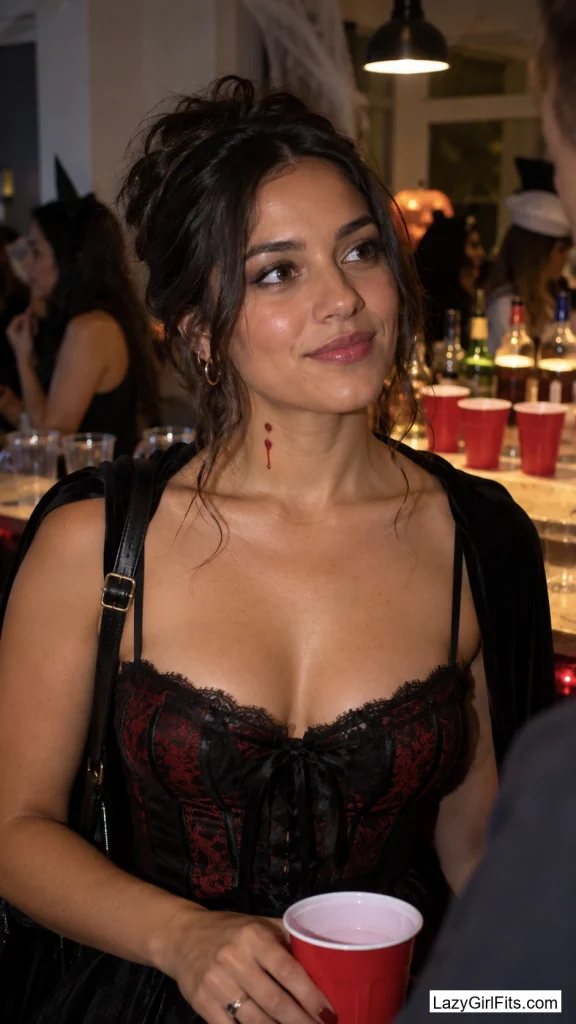
Draw two small red dots close together on the side of the neck, then blend a thin trail of red liquid liner or lip stain down from each dot toward the collarbone, going slightly uneven rather than perfectly straight.
Uneven trails look more like they’re following gravity than two identical straight lines would, which is a small detail that makes the whole effect more believable without any extra steps. A touch of dark red on the lips ties it together.
This pairs with almost any outfit, since it’s the only makeup step needed to signal the costume — no face paint required at all, which makes it a solid option for anyone who wants Halloween makeup without touching their face.
18. Pumpkin-Cheek Blush
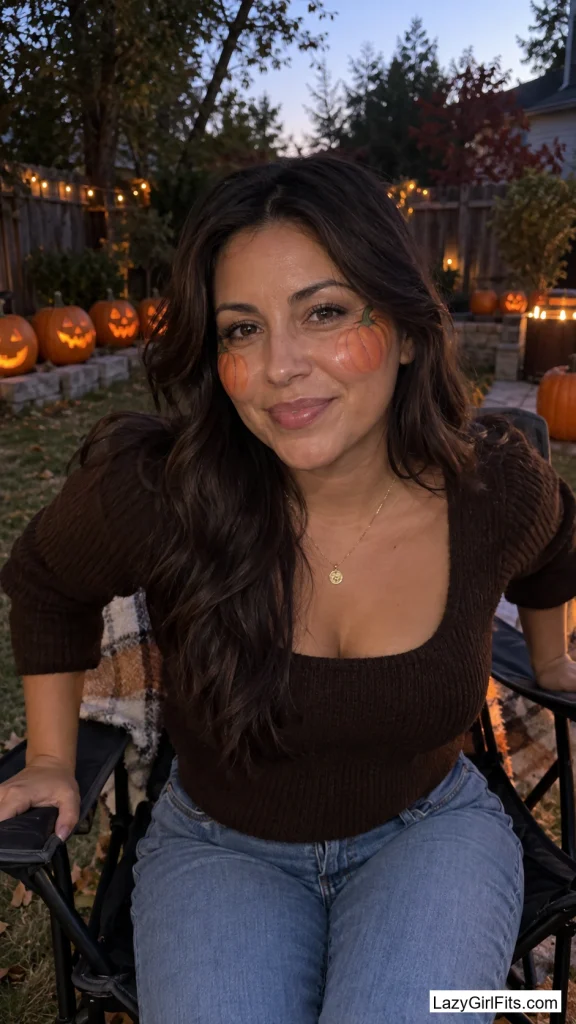
Blend orange cream blush high on both cheeks in a rounded shape, then use a fine brush to add three or four short black lines radiating from the center of each cheek like the ridges of a pumpkin. Finish with a small green stem shape drawn at the hairline.
Keeping the pumpkin design to blush placement instead of the whole face makes it wearable well past Halloween-party hours, and the black ridge lines only take a few seconds once the orange base has set.
Doll-Inspired Details
Slightly unsettling rather than gory, these lean on precision more than product.
19. A Red Thread Stitched Across the Lips
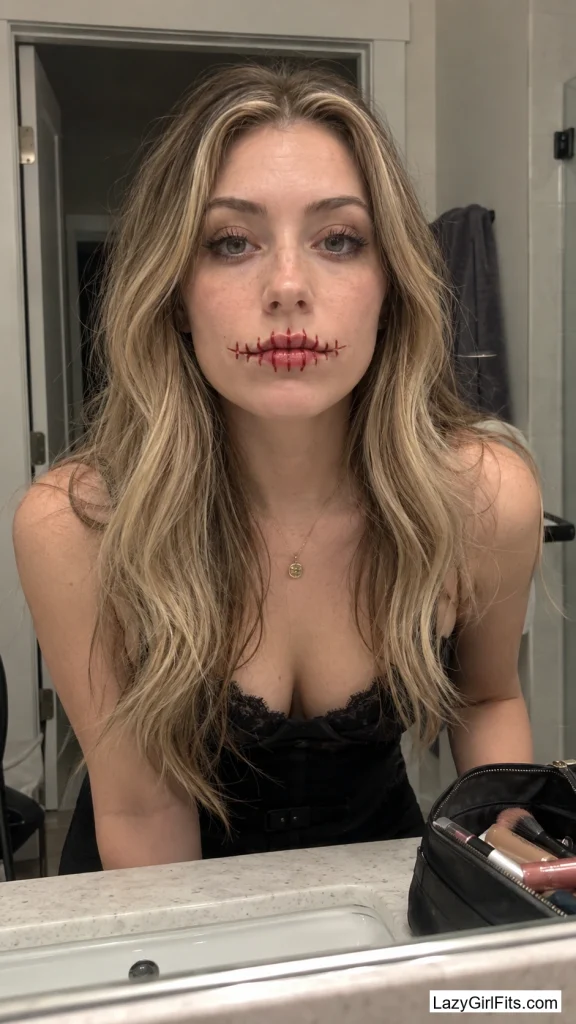
With a fine liner brush and red or dark liquid liner, draw a row of short diagonal lines across closed lips to look like stitches, spacing them evenly and keeping each one the same length. Add two small dots at either end where the thread would knot.
Even spacing matters more than perfect line quality here, so it helps to lightly mark dots first with a pale liner as placement guides before going over them in red. The rest of the face can stay completely bare for maximum contrast.
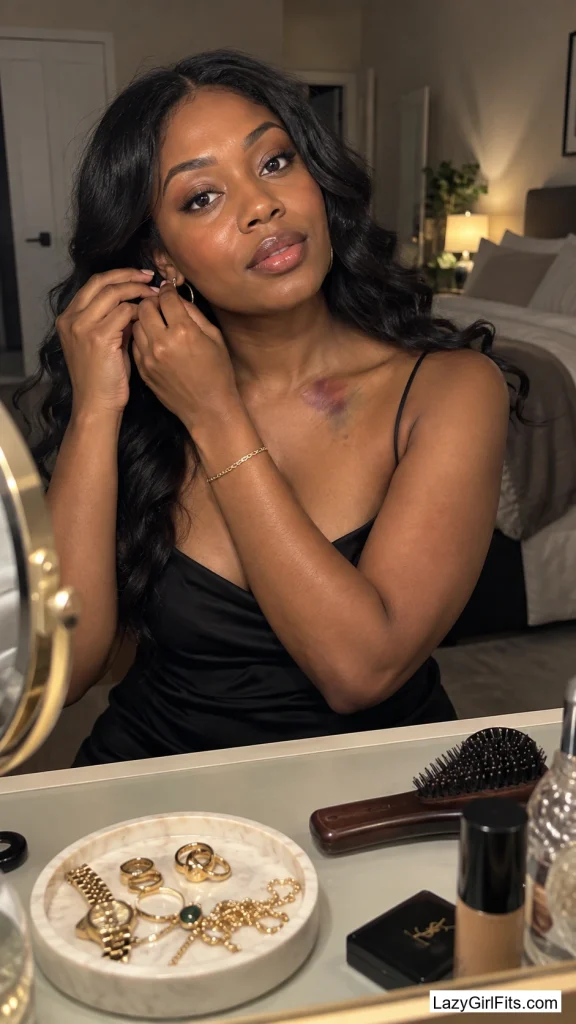
20. A Watercolor Bruise at the Collarbone
Blend purple, blue, and a touch of yellow-green cream eyeshadow together loosely at the collarbone, layering the colors rather than mixing them into one flat tone, the way a real bruise shows several colors at once.
Working the colors in soft, overlapping patches rather than a solid block is what gives this a watercolor look instead of a costume-store bruise. A damp makeup sponge blends the edges without erasing the color variation.
Placing it at the collarbone instead of the face keeps it visible without competing with any other look worn the same night, which makes it easy to combine with several other items on this list.
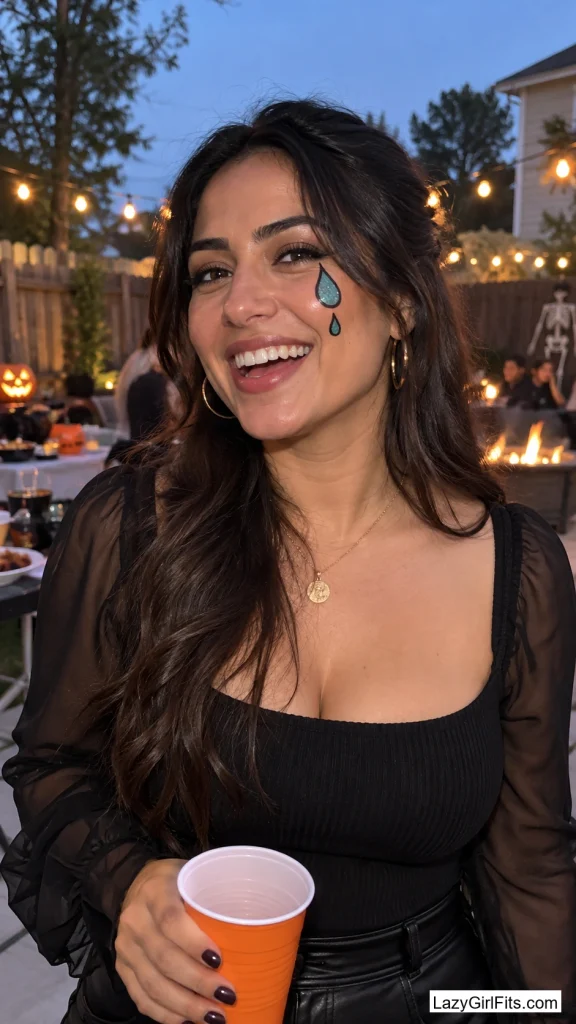
21. A Sugar-Skull Cheek, Simplified
Instead of a full sugar-skull face, paint one large teardrop or flower shape on a single cheek in bright pink or turquoise cream color, outlined in black liner with a few small dots and short lines added inside for detail.
Limiting the design to one cheek keeps the coloring-in step small enough to finish quickly, while the outline and dot details still read as the sugar-skull style from a distance. Bold, saturated colors are easier to keep even than pastel ones over a small area.
Final Thoughts
Most of what makes Halloween makeup look intentional instead of accidental comes down to two things: keeping the design contained to one area instead of covering the whole face, and picking colors saturated enough to hide small unevenness. Both apply to every look above.
A first attempt rarely looks like the reference photo, and that’s fine — a slightly wobbly web or a lopsided flower reads as hand-drawn rather than wrong from more than a few feet away, which is the only distance anyone at a party is actually looking from.