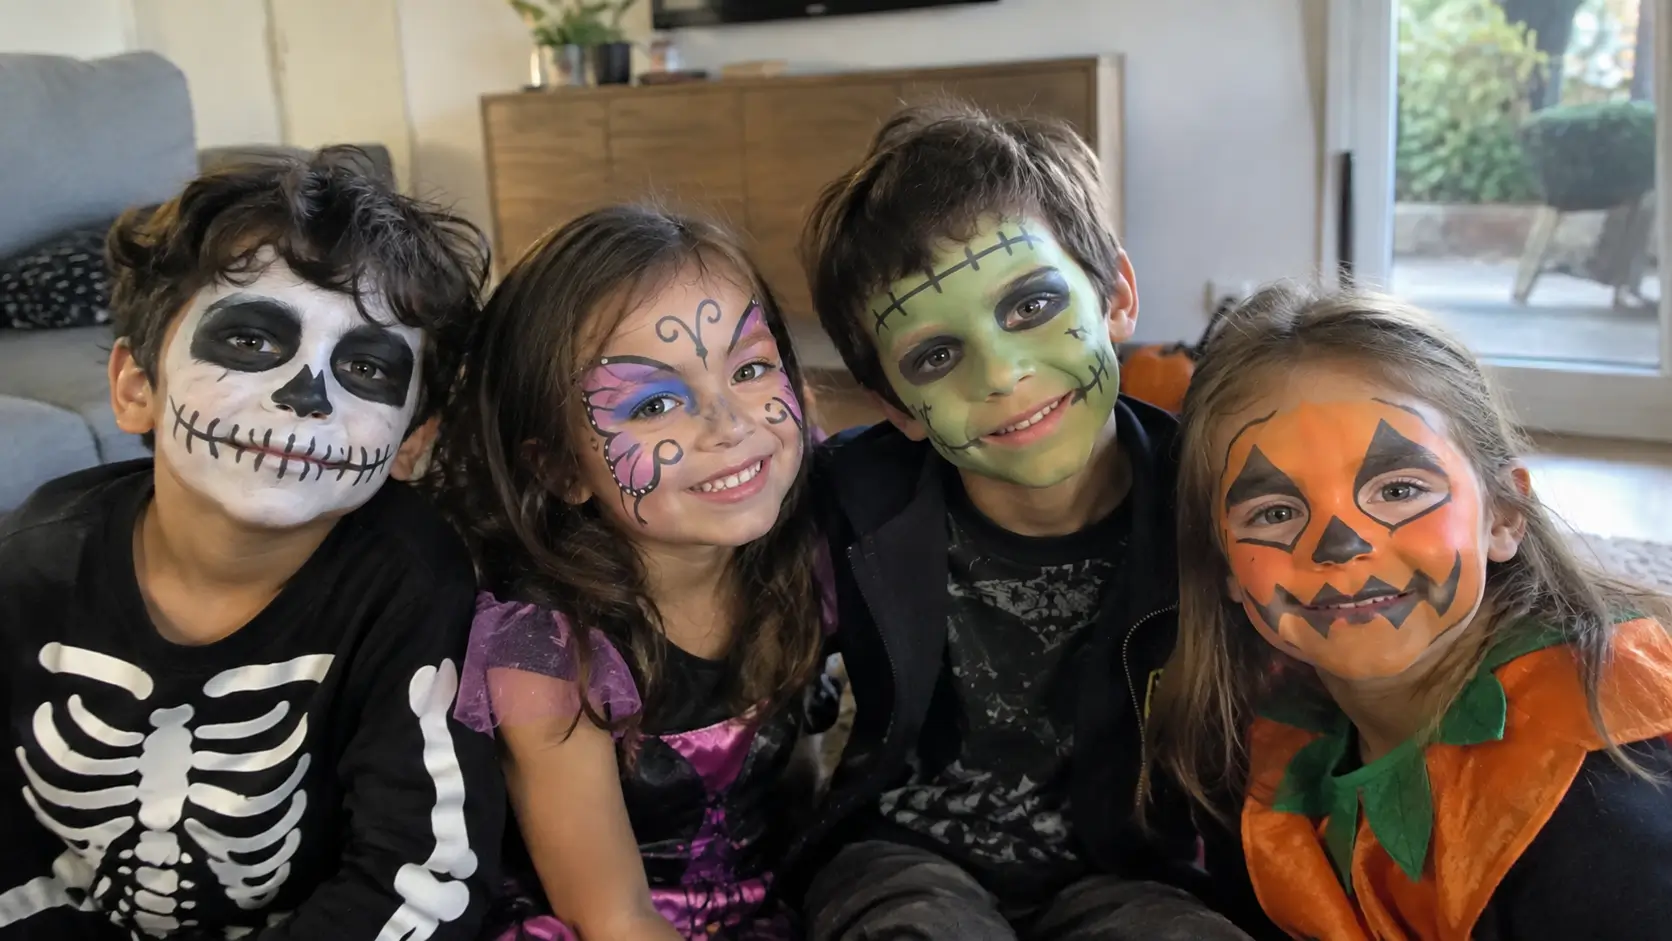
A costume half the neighborhood already owns turns into something nobody else has the second you add face paint. It doesn’t need an airbrush kit or an hour at the bathroom mirror — most of these designs use three colors or fewer and take less time than getting shoes tied.
The ideas below run from a single painted detail near one eye to a full half-face design, so there’s something here whether you’re working with a five-year-old who won’t sit still or a ten-year-old ready to hold a pose. All of them use washable, kid-safe face paint — cream or water-activated cake paint, applied with a small brush or a clean makeup sponge.
They’re grouped by how much of the face each one covers, starting with classic looks done a little differently and ending with small touches you can add to a costume that’s already finished.
Classic Faces, Made Simple
These are the designs almost every kid recognizes on sight, trimmed down to what actually needs painting.
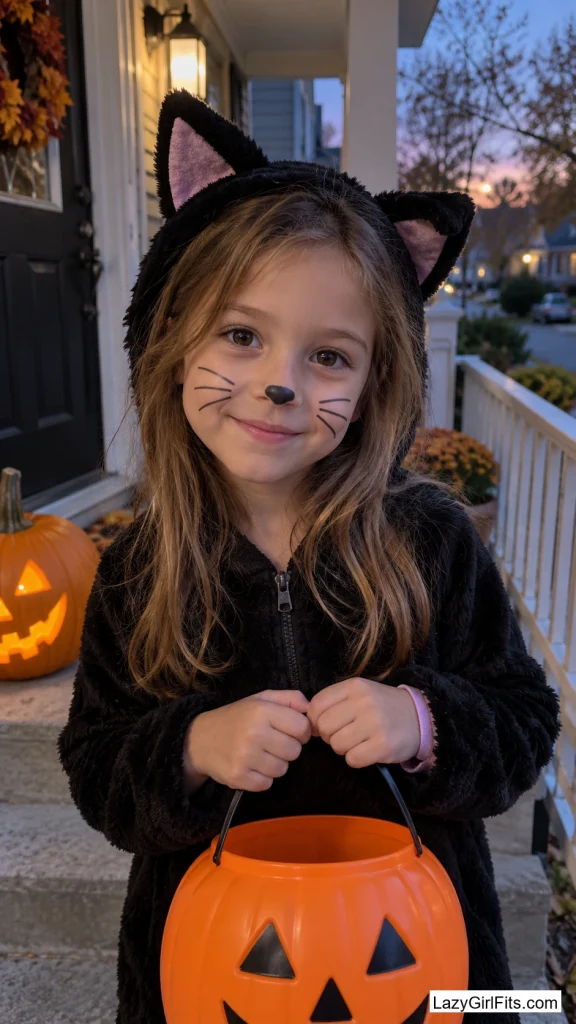
1. Whiskered Black Cat With a Glitter Nose
A small black triangle covers the tip of the nose, with three thin whisker lines drawn out from each side of the mouth. A couple of black dots above the upper lip and a light flick of eyeliner-style paint at the outer corner of each eye finish it off.
It only calls for black paint and a steady-ish hand, and it’s forgiving — whiskers that come out a little crooked still read as a cat from three feet away, which matters when the model won’t hold still.
Once the black nose has dried, dab a little cosmetic glitter gel over the top instead of leaving it flat. It sets without smudging and catches the porch light on every doorstep photo taken that night.
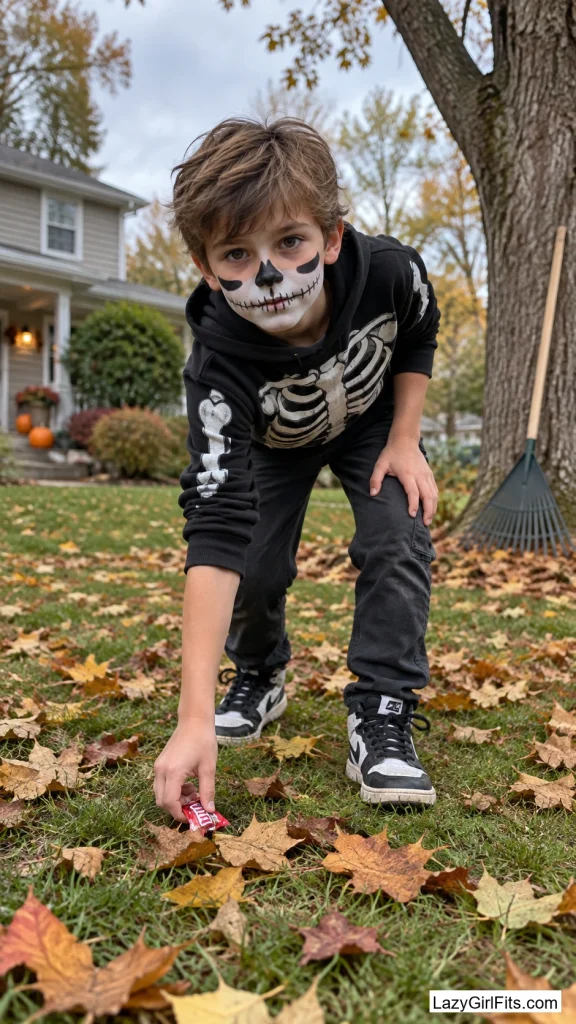
2. Half-Face Skeleton With Rosy Cheekbones
White paint covers the lower half of the face only, from the bottom of the nose down to the jaw. Black lines are painted along the cheekbones and jaw to suggest bone, and the eyes and eyelids are left completely untouched.
A full skeleton face usually means painting close to the eyes, which plenty of kids won’t sit for. This version skips that step entirely and still photographs as a skeleton in every shot. A dab of pink blush over the cheekbone lines keeps it from looking too stark.
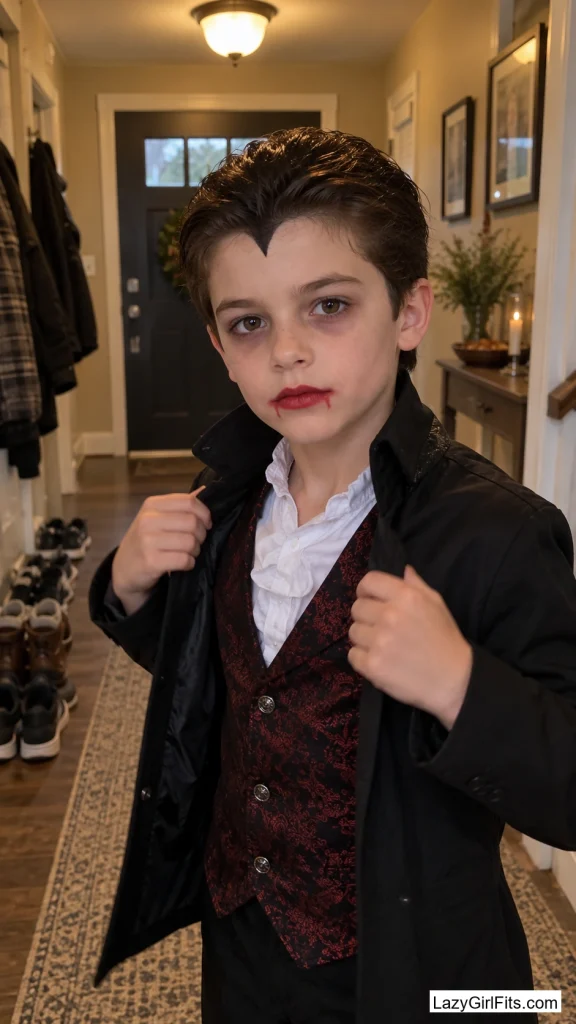
3. Two-Dot Vampire Bite With a Deep Red Lip
A black widow’s-peak line is painted at the center of the hairline, the lips are colored in a deep red, and two small red dots are added just below one corner of the mouth like a smudge left behind.
One dark lip color and a single brush line do almost all of the work here, so there’s no need to cover the whole face in white first. It also pairs with whatever black clothing is already in the closet, which makes it one of the fastest full “costumes” on this list.
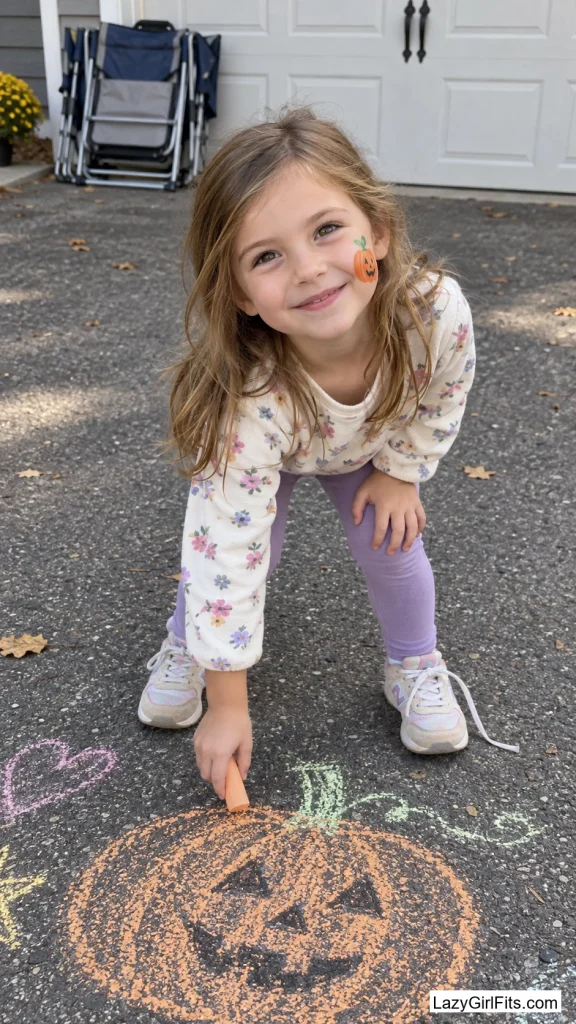
4. A Painted Pumpkin on One Cheek
An orange rounded shape with a small brown stem is painted on one cheek, a few inches across, with two curved lines dividing it into ridges the way a real pumpkin folds. A triangle-eyed, jagged-mouth face is painted directly onto the shape.
Because it stays contained to one cheek, a wobbly stem line or a lopsided eye is easy to fix without starting over, and there’s still plenty of bare face left if a kid decides at the last minute they want glasses or a mask on top.
Small Details Instead of a Full Face
For a kid who wants something painted but won’t sit for a full design, one small motif does the job.
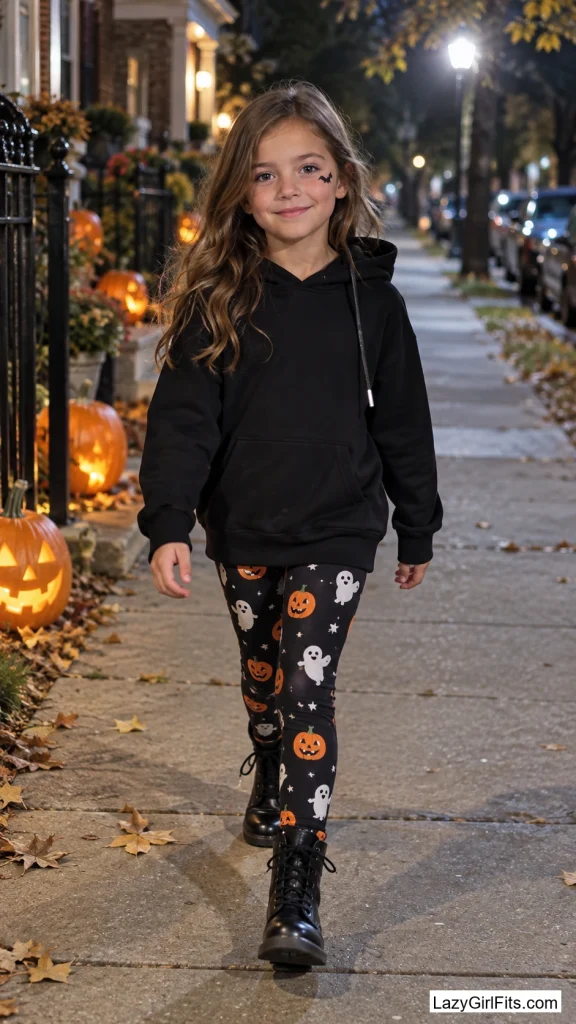
5. A Single Painted Bat Flying From the Temple
A small black bat silhouette is painted at the temple, angled as if it’s flying up toward the hairline, with two or three tiny dots trailing behind it for motion.
It takes under two minutes with a fine brush or a paint pen, which makes it the right answer for a child who has already decided the rest of their face is staying bare. It still reads as a deliberate Halloween choice in photos rather than nothing at all.
6. One Glitter Teardrop Under Each Eye
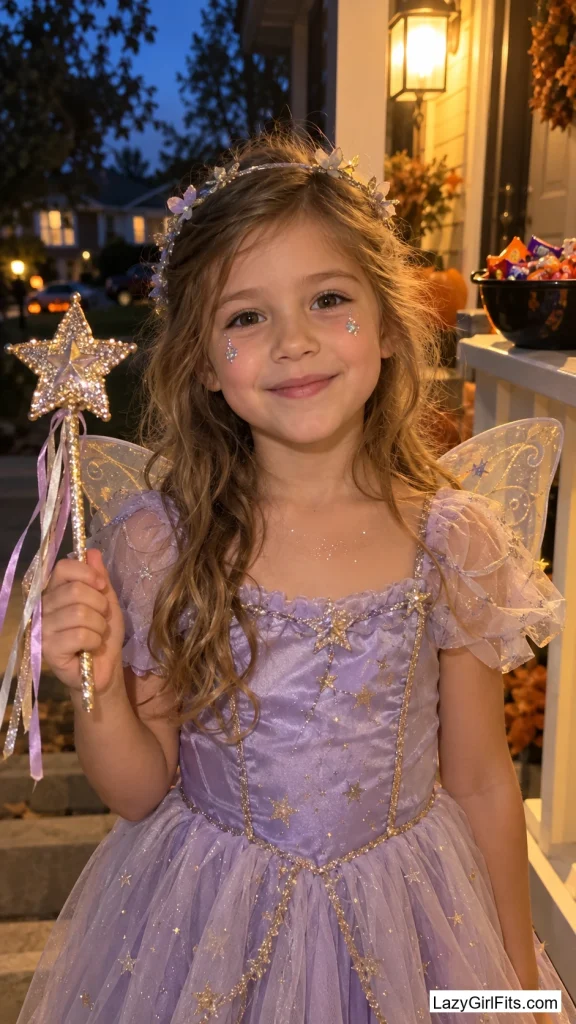
A single teardrop shape in silver or purple glitter gel is painted just below the outer corner of each eye, nowhere else on the face.
There’s no drawing skill involved since it’s one dot per side, and the glitter alone carries the whole look. It suits a costume that’s more sparkly than scary — a star, a fairy, a mermaid — better than anything with black lines in it.
Use a cosmetic glitter gel made for skin near the eyes, not loose craft glitter. Loose flakes that close to the eye are a genuine irritation risk, so they stay off the face entirely.
7. A Tiny Broom and Sparkle Trail on the Cheek
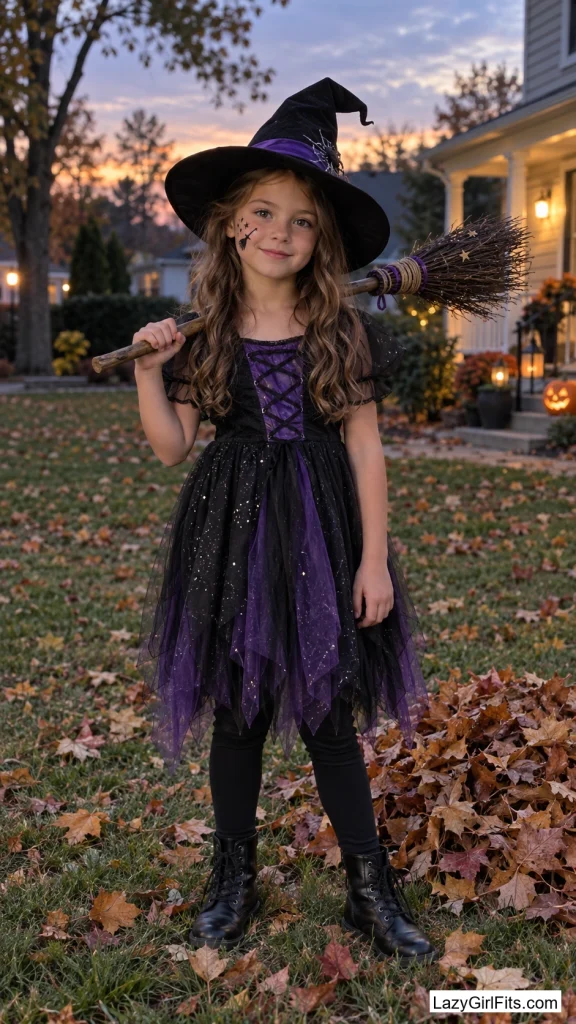
A small brown broom shape is painted diagonally across one cheek, with a few streaks of gold or purple glitter trailing off the bristles like sparkle dust kicked up mid-flight.
It skips the green skin and painted warts a full witch face usually calls for, so a kid who wants to be a witch without sitting through a whole face of makeup still gets the reference. It pairs naturally with a witch hat already part of the costume.
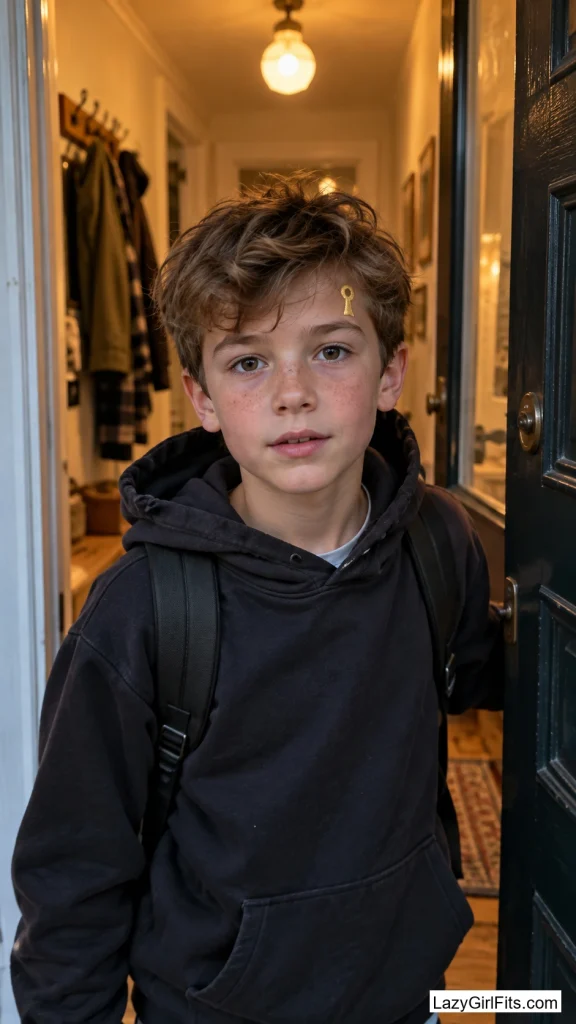
8. A Painted Keyhole on the Forehead
A small gold or black keyhole shape is painted centered on the forehead with a clean outline, and a thin curling line or two drifts away from it like smoke.
It doesn’t point to any one specific costume, so it layers under a hood or a hat without conflicting with anything else. It’s also quick to paint since it’s one small enclosed shape rather than anything that has to line up with the eyes or mouth.
Sweet, Not Scary
For a kid who wants color on their face without anything that could be called frightening, these lean toward dessert and candy over monsters.
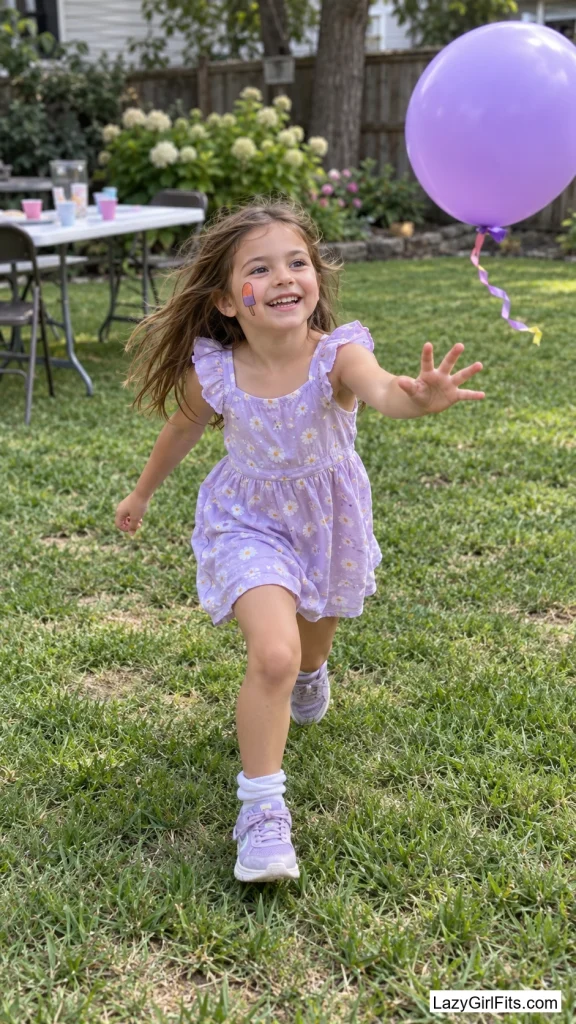
9. Melting Popsicle Drip Down One Cheek
An orange-and-purple popsicle shape is painted near the top of one cheek, with a few thin lines running down toward the jaw as though it’s starting to melt.
The two colors are blended wet-on-wet with a sponge for the popsicle body, and the drip lines are just thin brush strokes underneath. No black is involved anywhere, which makes it a solid pick for a kid who’s decided nothing about their face should look “scary” this year.
Pick two colors from the same family — orange and pink, or purple and blue — so the blend reads as intentional instead of muddy. If it’s a new paint set, test the blend on the back of a hand first.
10. Candy Corn Triangle on the Cheekbone
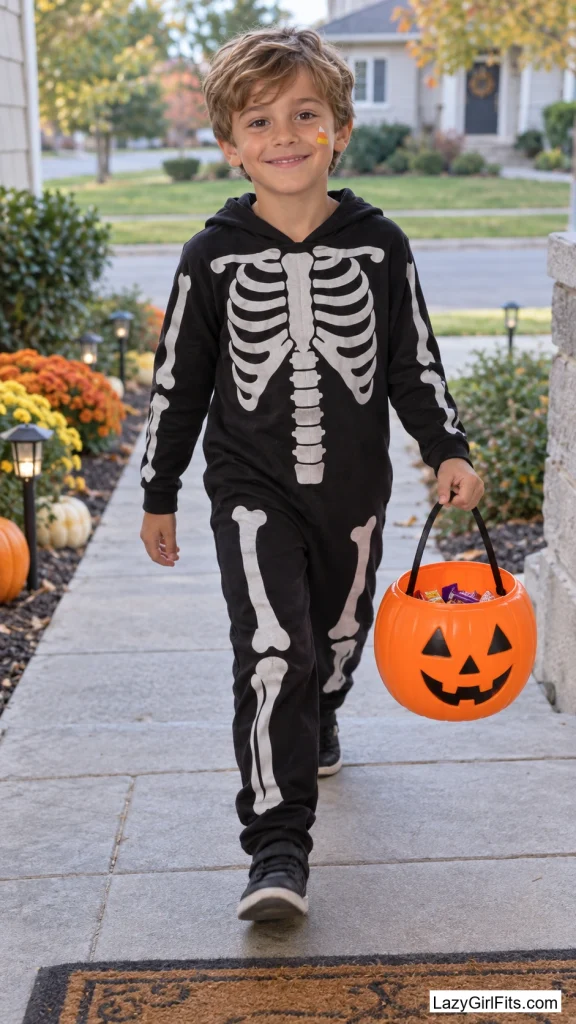
A triangle is painted on one cheekbone in three even horizontal bands — yellow at the bottom, orange in the middle, white at the top — mirroring an actual piece of candy corn.
It only needs the three colors that come in nearly every kid face paint kit already, and a strip of painter’s tape works as a straight-edge guide if freehand triangles feel risky. It ties in with a plain orange-and-black outfit without touching the rest of the face.
11. Rainbow Sherbet Swirl Around One Eye
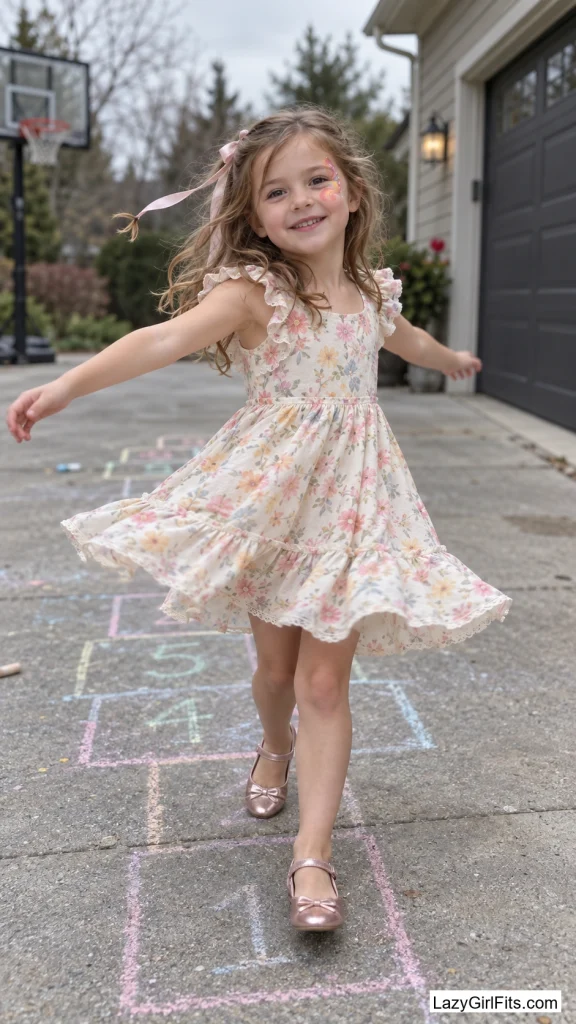
Pink, orange and yellow are blended together in a soft comma shape that sweeps from the brow bone down past the outer corner of one eye.
A swirl doesn’t need straight lines or symmetry to work, which makes it one of the more forgiving designs here. It’s a good option for a kid who wants color on their face but no particular character, and it blends in under a minute with a slightly damp sponge.
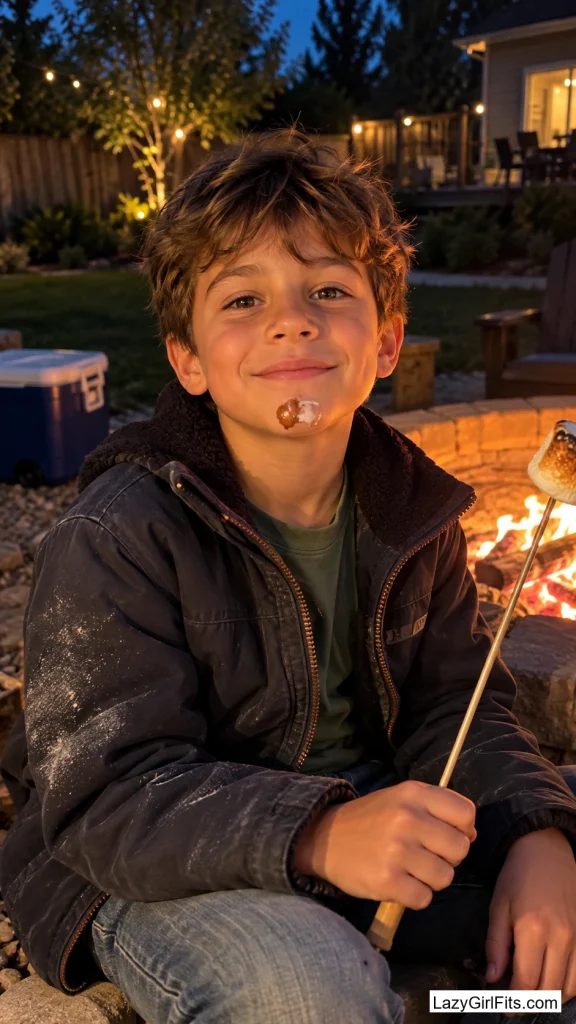
12. Marshmallow S’mores Smudge on the Chin
A soft brown smudge is painted across the chin with a few uneven white blob shapes layered over the top, like a marshmallow that never quite got wiped off after a campfire snack.
It’s genuinely funny rather than spooky, which suits a kid headed to a fall festival more than a haunted house. Clean lines aren’t the point — the smudge is supposed to look a little messy on purpose, so there’s nothing to get exactly right.
Animal Faces With a Twist
Same appeal as a classic animal face, minus the full coat of paint most animal designs ask for.
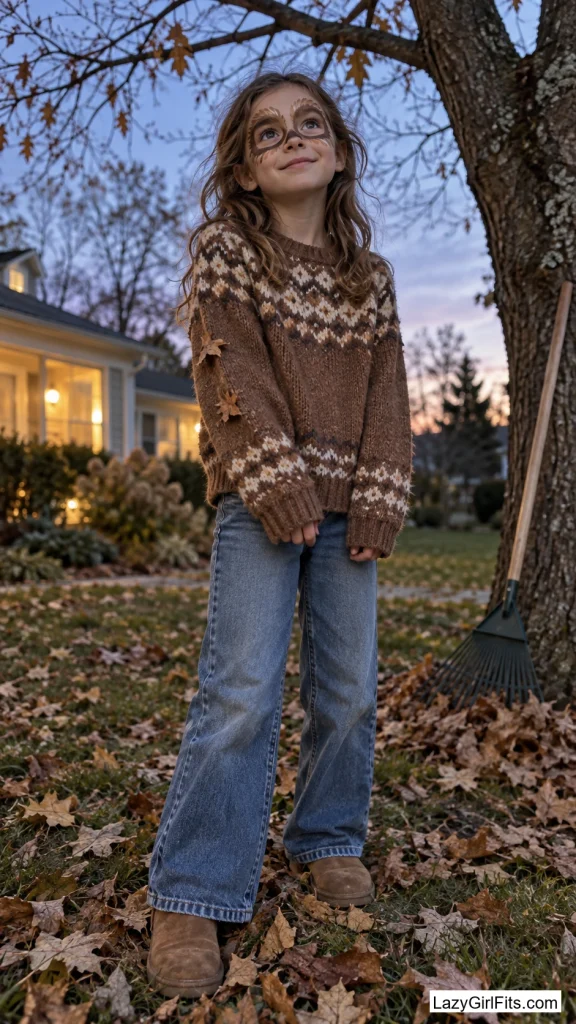
13. Owl Eyes Painted Only Around the Lashes
Concentric rings of brown and tan are painted around each eye only, following the natural eye shape outward, with a few short feather-like strokes added at the outer corners.
A full owl face usually means covering the entire face in feather texture, which takes real time and a very steady brush. Doing just the eyes gets the recognizable part finished and stops there.
If a freehand ring feels risky on a moving target, the rim of a small bottle cap dipped lightly in paint and pressed around the eye keeps the circles even.
14. A Freckled Fawn With a Blush Nose
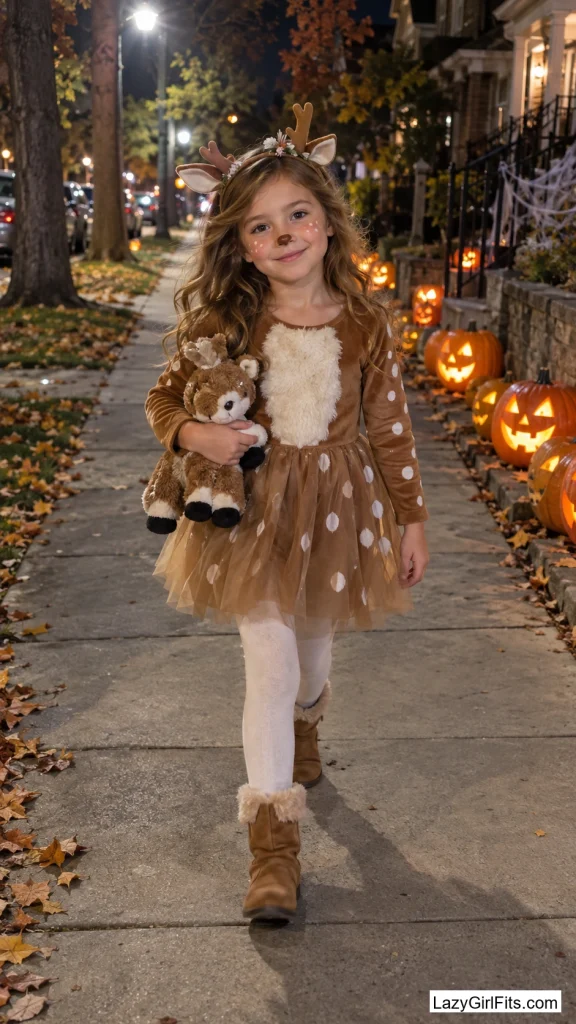
Small brown freckle dots are scattered across the nose and cheeks, with a heart-shaped pink-brown nose painted at the very tip of the nose. Two short white lines above each brow stand in for tiny antler buds if the costume calls for them.
It’s a softer option than a fox or a wolf face for a younger kid who wants “an animal” without black eyeliner or a snout painted over the mouth. The freckles alone are enough to sell it.
15. A Ladybug Dot Paired With Painted Freckles
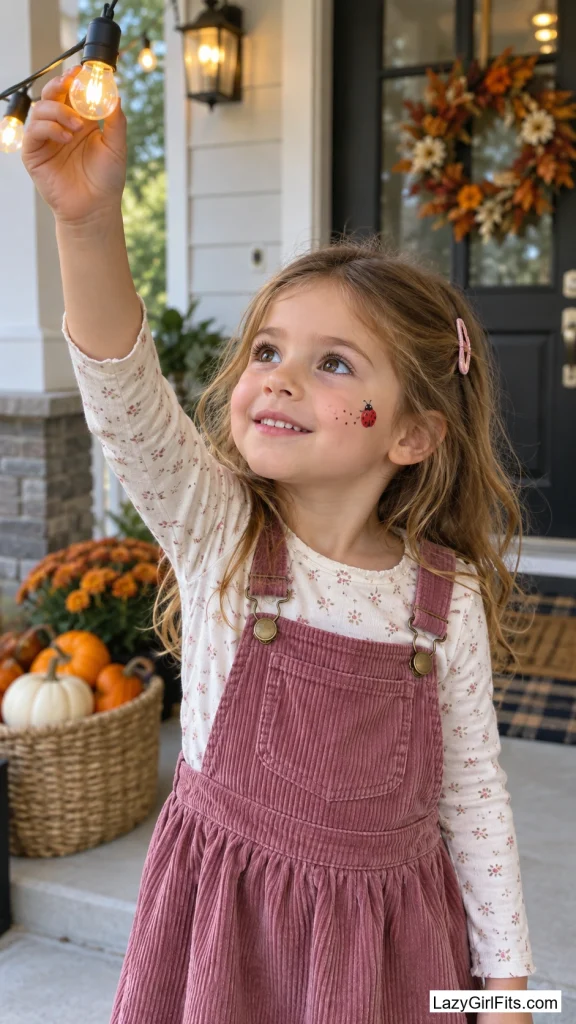
A single red ladybug shape with a handful of black dots is painted on one cheek, alongside a scatter of small black freckle dots across the bridge of the nose.
The freckles do double duty — they soften the ladybug so it looks like it belongs on the kid’s actual face rather than a sticker placed on top of it, and they take about ten seconds to dot on.
Up in the Sky
None of these are traditionally “Halloween,” which makes them a good fit for a kid who wants a night-themed look without a monster attached to it.
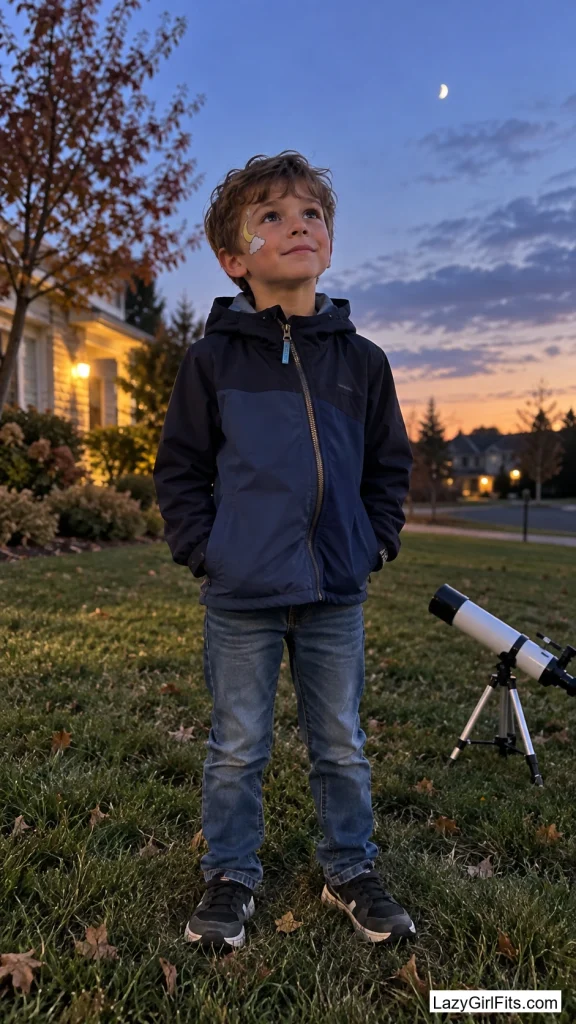
16. A Crescent Moon Peeking From Behind One Cloud
A pale yellow crescent moon is painted near one temple, with a soft white cloud shape overlapping its lower edge as if it’s drifting past.
It’s two shapes and two colors, with no black required anywhere. It works especially well for a kid dressed as a star, an astronaut, or anything nighttime-themed rather than a Halloween character specifically.
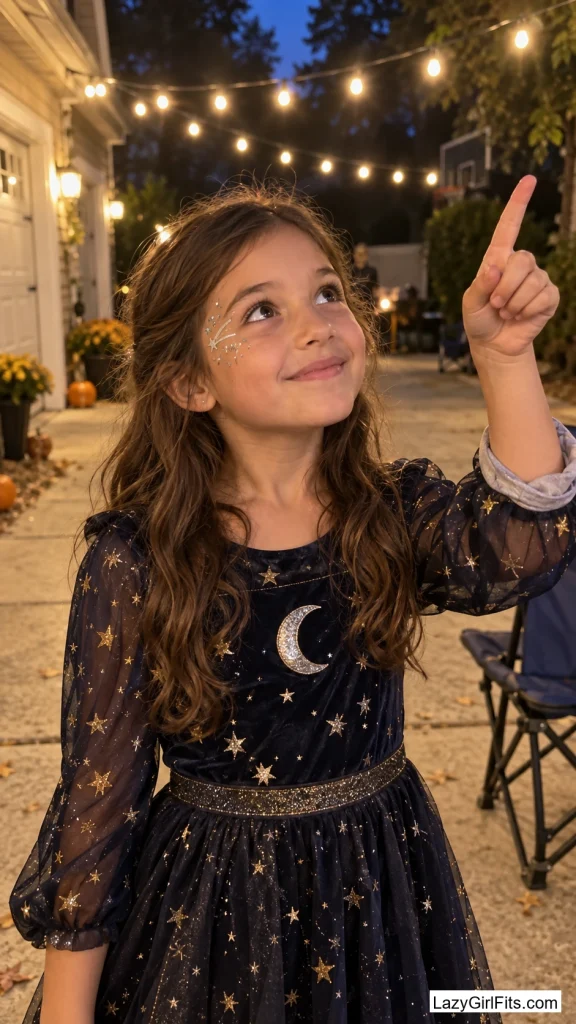
17. Constellation Freckles With a Shooting Star
Tiny white or silver dots are painted across the nose and cheeks like real freckles, and a few of them are connected with the thinnest possible line to suggest a constellation. A small shooting star with a short tail is added near one temple.
The dots are forgiving because real freckles are never perfectly placed anyway, so a slightly uneven hand still looks intentional rather than sloppy.
A fine-tip paint pen made for face paint detailing makes the dots and thin connecting lines much easier than trying to manage them with a brush.
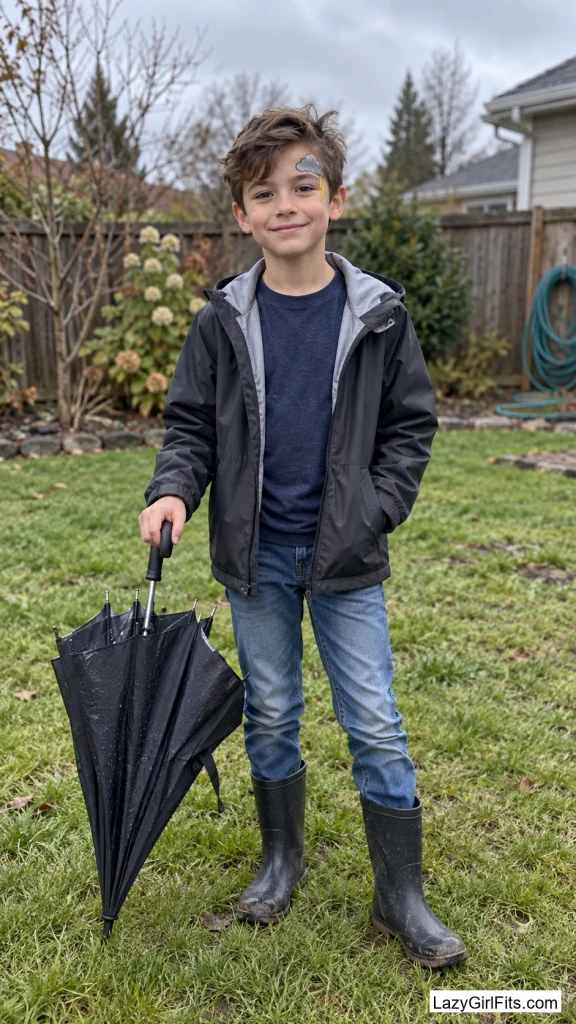
18. A Puffy Storm Cloud With a Lightning Bolt Peeking Through
A gray, puffy cloud shape is painted on one side of the forehead near the hairline, with a small yellow lightning bolt tucked half-behind it.
It’s an unusual enough choice that it won’t blend in with the dozens of pumpkins and skeletons at a school party, and the irregular cloud outline hides small brush mistakes better than most designs, since real clouds are never perfectly round anyway.
Playful Finishing Touches
A few last options for whatever few minutes are left before everyone heads out the door.
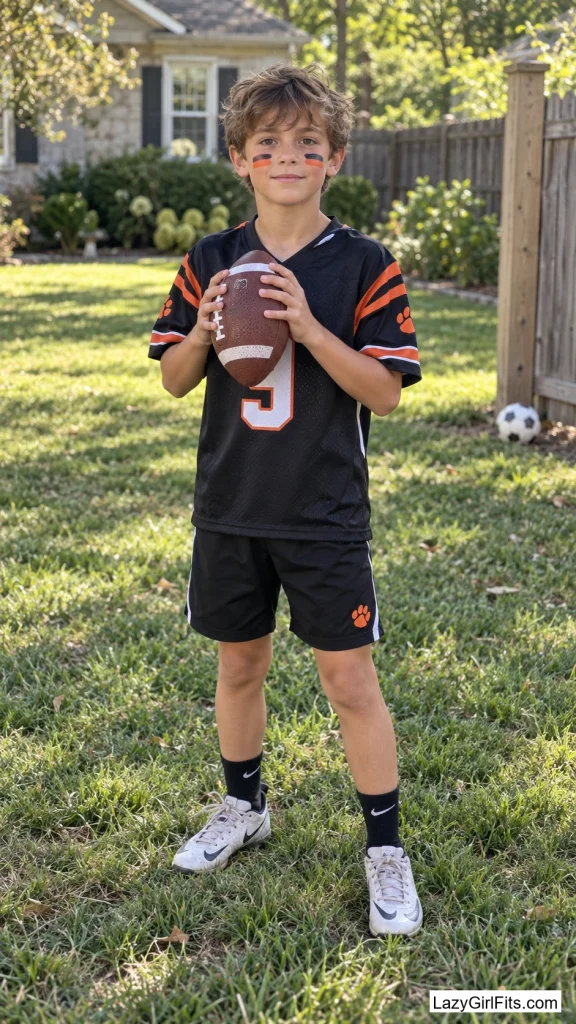
19. Football-Style Eye Stripes in Halloween Colors
One thick stripe is painted under each eye, angled down the way athletes wear eye black, but in orange and black or purple and green instead of plain black.
It’s the fastest design on this entire list — two brush strokes and it’s finished — and because it doesn’t touch the eyelid, it layers cleanly under an actual costume mask or hood without smearing.
Swap the colors for a school’s team colors or a favorite character’s palette and the same two stripes work again for a sports-themed look well past Halloween.
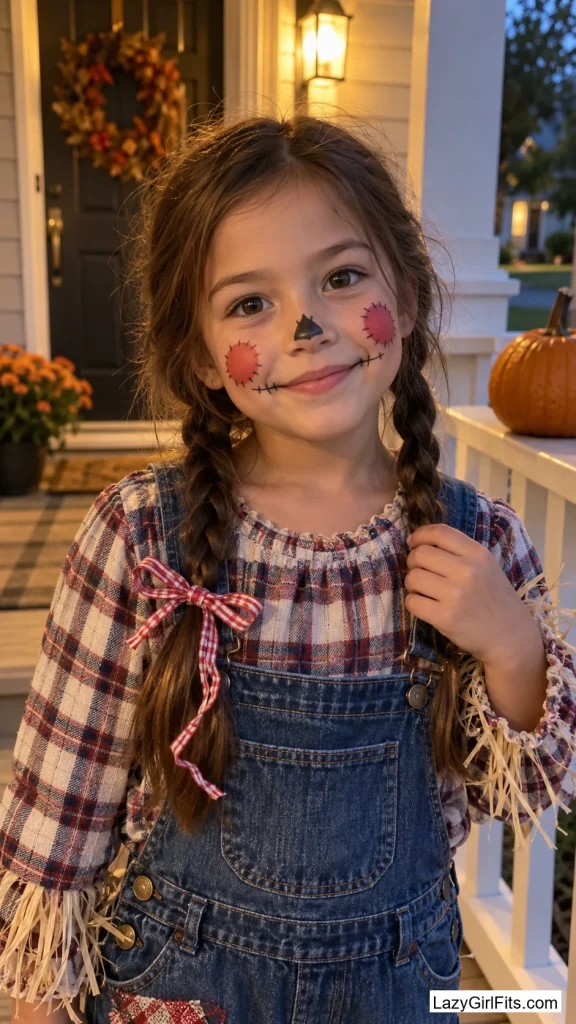
20. A Button Nose and Rosy Cheeks for a Rag Doll Look
A small black circle is painted at the very tip of the nose, two red circles are blushed onto the cheeks with a sponge, and a thin black line curves upward from one corner of the mouth like a stitched-on smile.
It reads instantly as a rag doll or scarecrow without a single scary element in it, and it pairs well with braided pigtails and a plaid dress that might already be sitting in the closet.
21. Corner-of-the-Eye Spiderweb
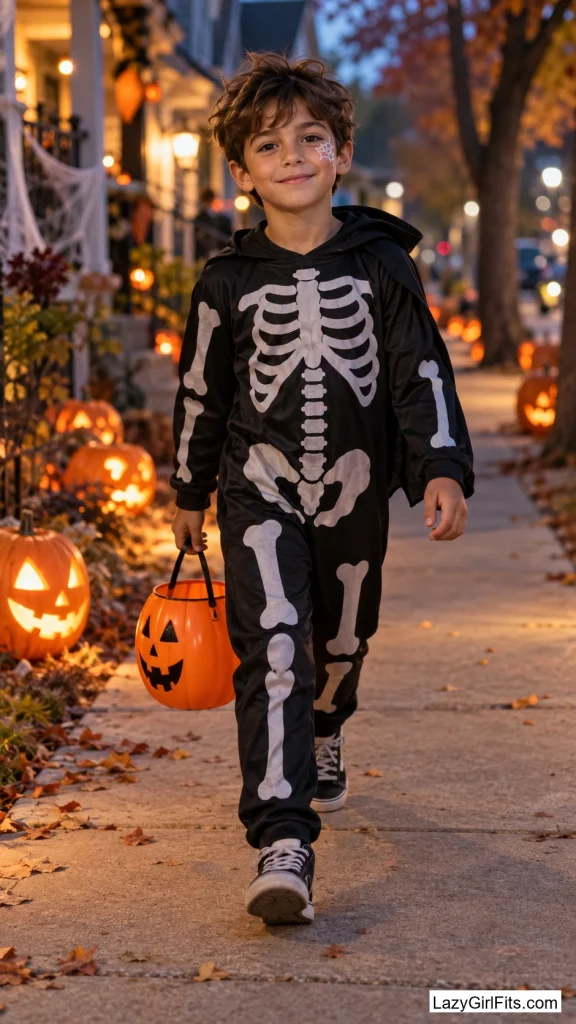
A small white or silver web is painted radiating out from the outer corner of one eye — five or six thin straight lines crossed by two or three curved connecting lines.
It’s one of the most recognizable Halloween images there is, done in miniature, which is exactly why it earns a spot on a “simple” list — it’s the one shape almost every kid already knows how to picture without being shown a reference.
A thin detail brush works, but pressing a real spiderweb stencil — sold cheap in most Halloween face paint kits — against the skin and dabbing paint over it gets clean lines even on a kid who won’t hold still.
Final Thoughts
None of these need more than a few colors already in a basic face paint kit, and most take five minutes or less once you’ve done them once. Start with a smaller design if it’s the first time face paint has been part of the costume — a corner-of-the-eye web or a single glitter dot tells you fast whether the kid in question is going to sit still for anything more.
Whatever gets picked, do a small patch test on the wrist a day ahead if it’s a new brand of paint, and keep a damp washcloth nearby — cream and cake face paints wipe off with soap and water, but they go on faster if there’s already a plan for taking them off at the end of the night.